
2D Molecule Drawing Module
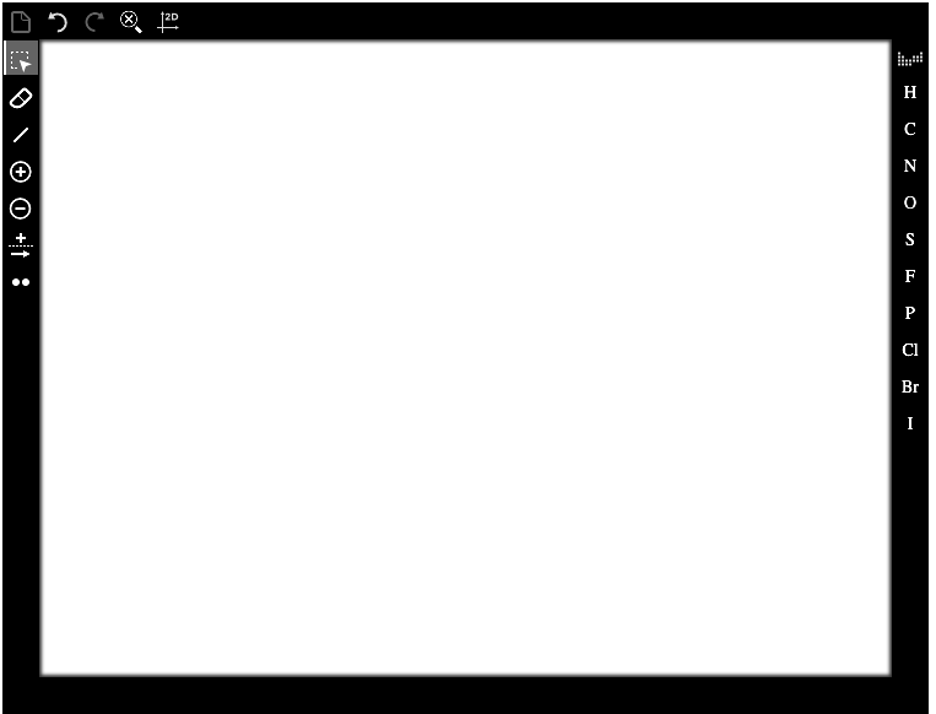
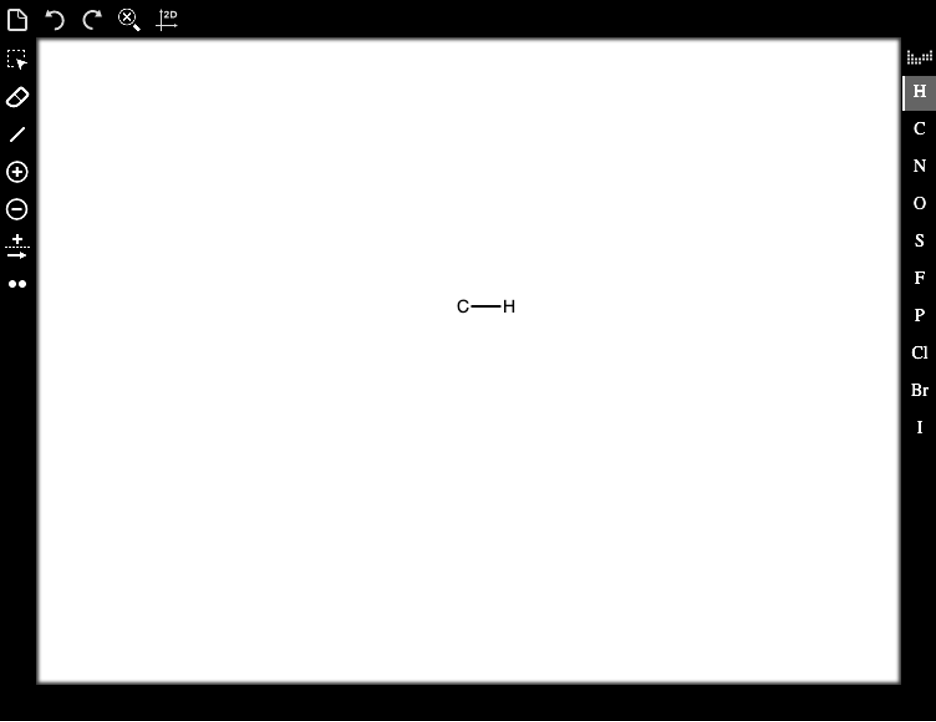
The 2D Molecule Drawing Module (MDM) allows students to draw chemical structures or reactions as answers to Smartwork questions. An example of an MDM problem is shown below. Depending on your screen resolution or your browser settings, you may need to adjust the zoom in order to see the entire MDM. The figure below shows the entire MDM, which consists of a white workspace surrounded by a dark-gray border that contains several toolbars.
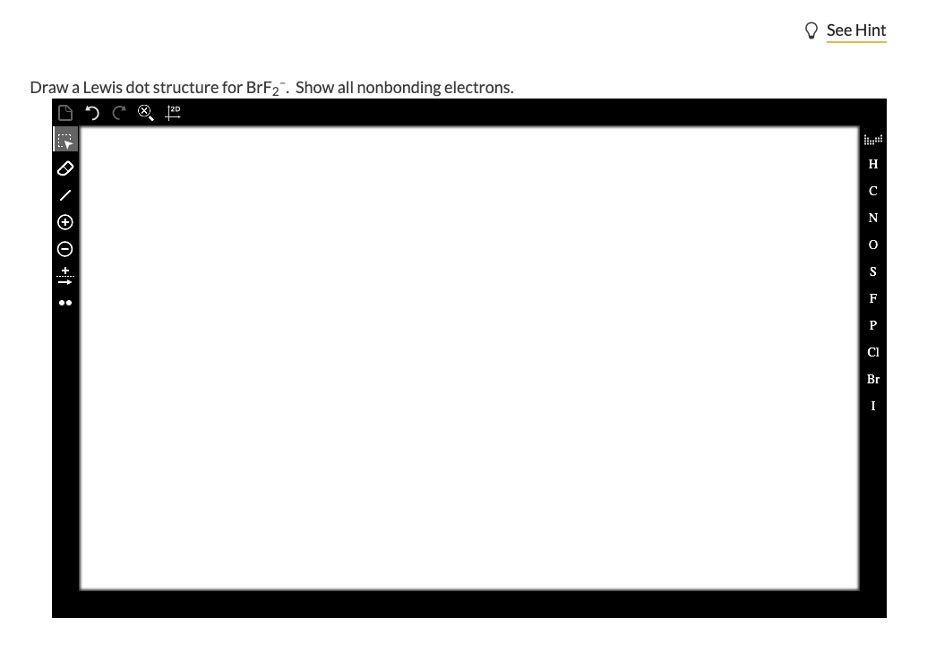
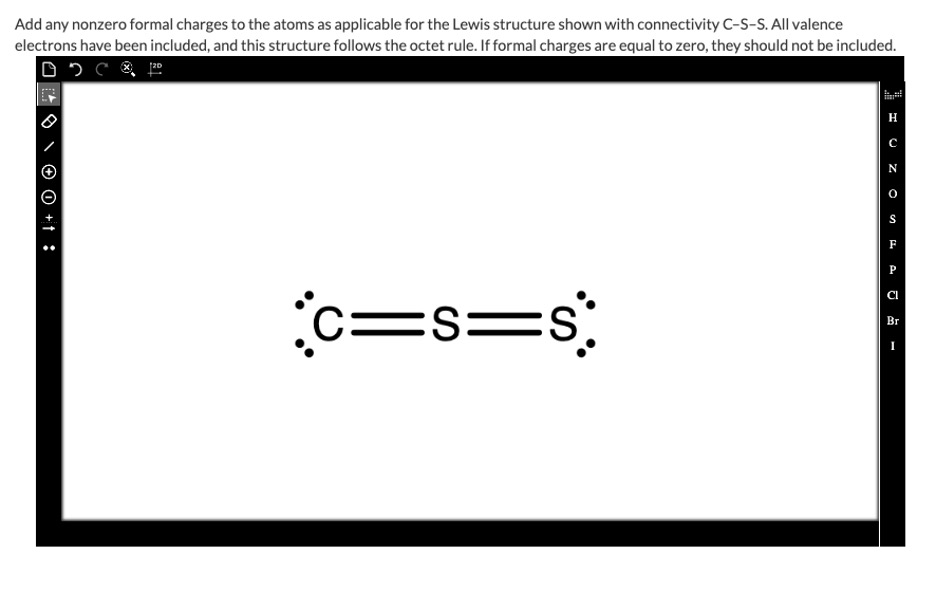
The figure above presents the MDM with a “blank” module workspace (the white area). Students may also see the MDM shown with a chemical drawing prompt, such as an atom, molecule, chemical reaction, or chemical scheme. The figure below provides an example of what the MDM may look like when a prompt is shown. Depending on the nature of the question being asked, the prompts can vary widely.
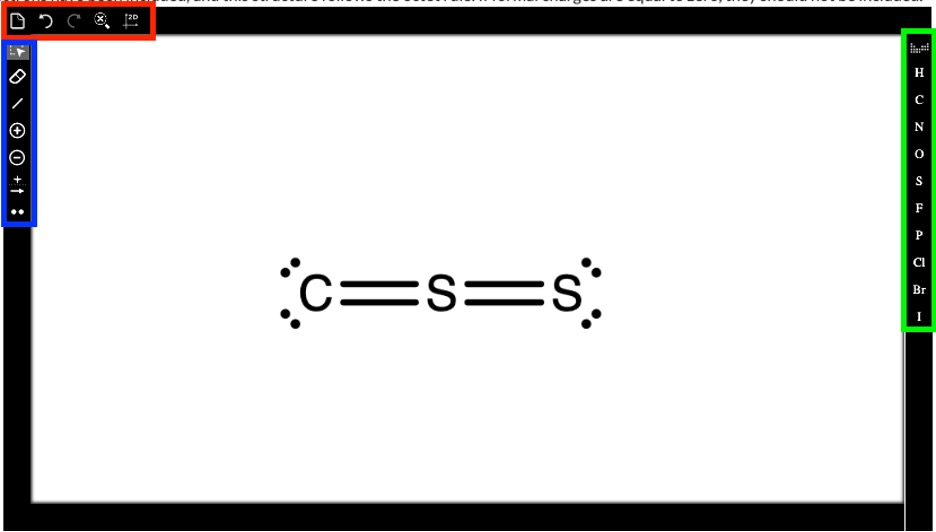
There are three primary toolbar areas within the MDM border. The toolbar areas are highlighted in the figure below as follows: formatting tools (red), drawing tools (blue), and elemental symbols (green).
Here is a video introduction to the 2D Molecular Drawing Module:
2D Molecule Drawing Module – Toolbar Introduction
Formatting Toolbar: The formatting toolbar on the top left of the MDM contains four or five tool options depending on the state of the workspace window. A zoomed-in view of the formatting toolbar’s five-tool version is shown here:
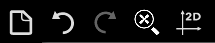
(Note: Only the four-tool option is shown in the previous MDM views up above.)
The table below gives the name and general function of each of the five tools in the formatting toolbar.
Formatting Toolbar Button | Tool Name | Tool Function |
| Clear | The Clear tool is used to return the workspace window to its original state. This tool can also be accessed via the hotkey: CTRL+DEL (PC) or Command+delete (MAC) |
| Undo | The Undo tool erases the last change that occurred in the workspace window. This tool can also be accessed via the hotkey: CTRL+Z (PC) or Command+Z (MAC) |
| Redo | The Redo tool reverses an Undo command, bringing back whatever change had been cleared by Undo. Therefore, the Redo function is only available after the Undo tool has been used. This tool can also be accessed via the hotkey: CTRL+Y (PC) or Command+Y (MAC) |
| Zoom | The Zoom tool allows you to zoom in or out within the workspace window. Clicking the icon twice opens a dropdown menu that gives three options. |
Zoom dropdown menu
| In the Zoom dropdown menu, the three options from left to right are: zoom-in, zoom-out, and zoom-all. | |
| Clean | The Clean tool organizes the objects drawn in the workspace. Results can include ensuring that all bonds are of equal length and that bond angles are reasonable.The Clean tool organizes the objects drawn in the workspace. Results can include ensuring that all bonds are of equal length and that bond angles are reasonable. |


Here is a video introduction of the Formatting Toolbar:
Drawing Toolbar: The drawing toolbar on the left side of the MDM contains eight tool options. A zoomed-in view of the toolbar is shown here:

The following table lists and gives the name of each tool along with a brief discussion of its function.
Drawing Toolbar Button | Tool Name | Tool Function |
| Rectangle Selection | The Rectangle Selection tool allows you to select multiple atoms, bonds, etc., by clicking within the workspace and dragging a rectangular selection area to your desired size. |
| Delete | The Delete tool can be used to erase individual atoms or bonds by clicking on them. The tool can also select multiple components when dragged, similar to the Rectangle Selection tool, and components that are highlighted are deleted upon releasing the mouse button. |
| Bonds | The Bonds tool allows new bonds to be added or a current bond to be changed to a different type. Clicking twice on the icon opens a dropdown menu that gives three options. |
Bonds dropdown menu
| In the Bonds dropdown menu, the three bonding options from left to right are: single, double, and triple. | |
| Increase Charge | The Increase Charge tool applies a positive charge to a neutral atom. If the atom is already charged, each click will increase the charge by 1. |
| Decrease Charge | The Decrease Charge tool applies a negative charge to a neutral atom. If the atom is already charged, each click will decrease the charge by 1. |
| Straight Arrow / Reaction | The Straight Arrow / Reaction tool allows you to click in the workspace to add a + symbol. To add an arrow to a chemical reaction, click and drag in the workspace. Clicking the twice on the icon opens a dropdown menu that gives three options. |
Straight Arrow / Reaction drop down menu
| In the Straight Arrow / Reaction dropdown menu, the three options from left to right are: straight, two-headed (resonance), and equilibrium arrows. | |
| Lone Pair | The Lone Pair tool applies lone electrons to an atom within the workspace. Clicking the icon twice opens a dropdown menu that gives two options. |
Lone Pair dropdown menu
| In the Lone Pair dropdown menu, the two options from left to right are: lone pair (two electrons) and radical (single electron). |


Here is a video introduction of the Drawing Toolbar:
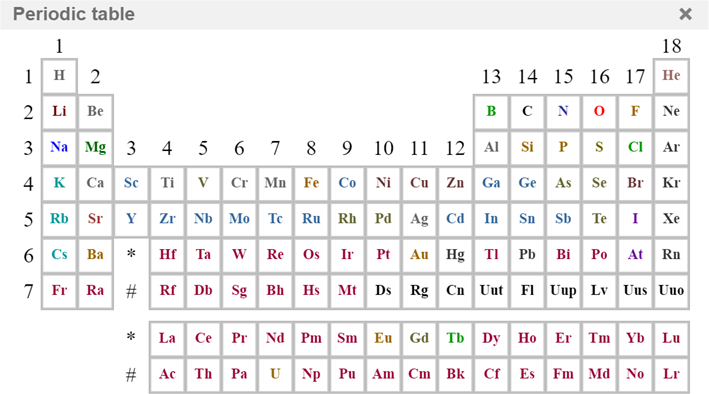
Elemental Symbol Toolbar: The Elemental Symbol toolbar on the right side of the MDM contains an option to access any element of the periodic table, as well as ten of the most commonly used elemental symbols. To add a specific symbol to the workspace, click the element on the right and then click on an unused area of the workspace. If the element needed is not on the list, click the periodic table button,  , to see the entire periodic table. The figure below shows the periodic table that will display when the button is clicked. Clicking on any element in the displayed periodic table returns you back to the workspace. The element that was clicked is now active and can be used as stated above.
Here is a video introduction of the Elemental Symbol Toolbar:
Using the 2D Molecule Drawing Module
Example 1: Methane, CH4
The next few figures will show you how to use the MDM to draw some chemical figures. The first molecule is methane, CH4. Once complete, your molecule should look similar to this:

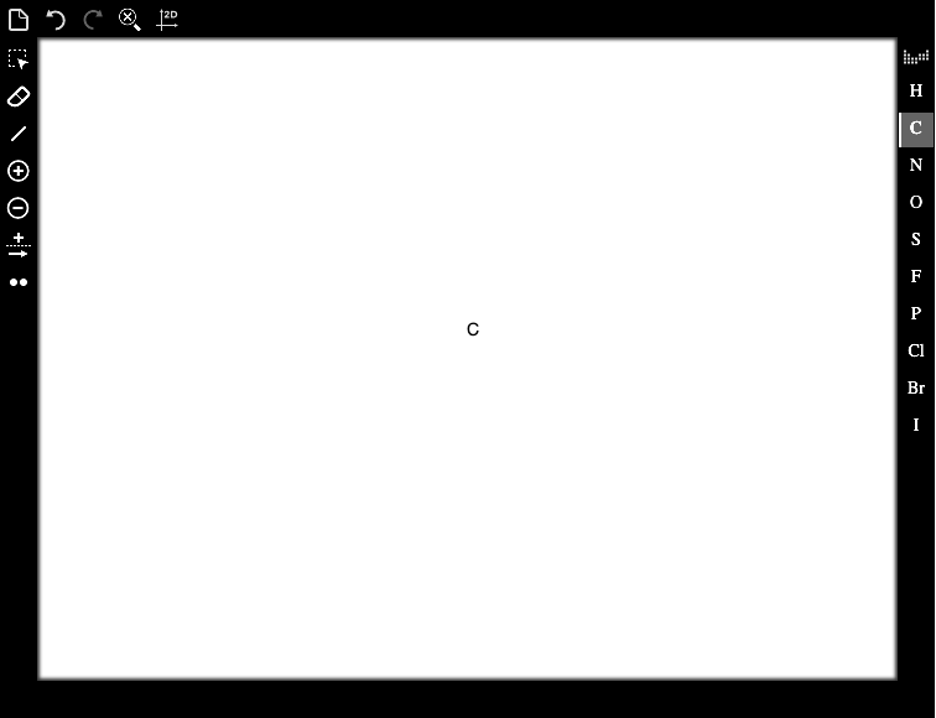
In the MDM workspace, click on the C (for carbon) icon in the Elemental Symbols toolbar. In the figure below, note that the C has been highlighted in gray, denoting that it has been selected.
With the C now active, click in the white workspace area. This will put the carbon atom where you clicked.
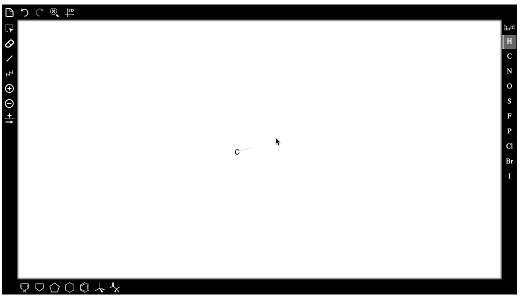
Activate the H by clicking on the H icon in the Elemental Symbols toolbar. Now, mouse over the C in the workspace. The C will be highlighted with a blue circle.
With the C highlighted with the blue circle, click and hold the left mouse button while dragging the mouse away from the C atom. This will draw a single bond between the C and the H when you release the mouse button.With the C highlighted, click and hold the left mouse button while dragging the mouse away from the C atom. This will draw a single bond between the C and the H when you release the mouse button.
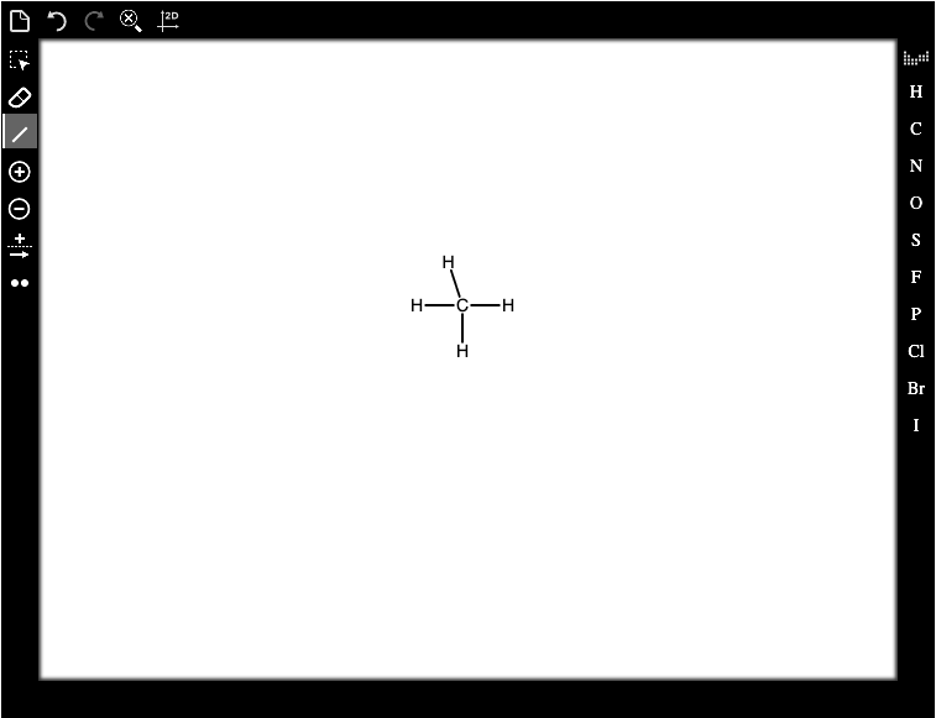
Using this same method, draw the remaining three hydrogen atoms on the carbon. Your drawing should look similar to the picture below, depending upon which directions you dragged your mouse.
For a better view, click on the Zoom button, ![]() .
.
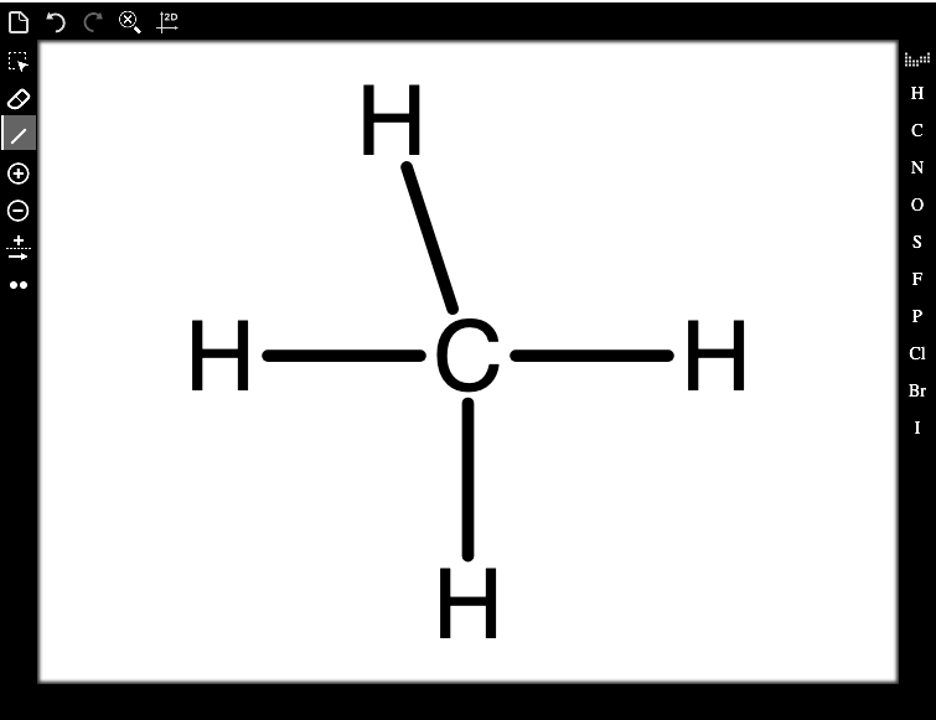
Note: You don't need to zoom in before submitting your answer, but you may find it useful to do so to ensure that all atoms are bonded as you intended. Additionally, Smartwork will grade your answer based on connectivity (how the atoms are connected) rather than what the molecule you drew looks like. In this case, so long as the carbon has the four hydrogens attached, your answer will be marked as correct.
Below is a video demonstration of Example 1:
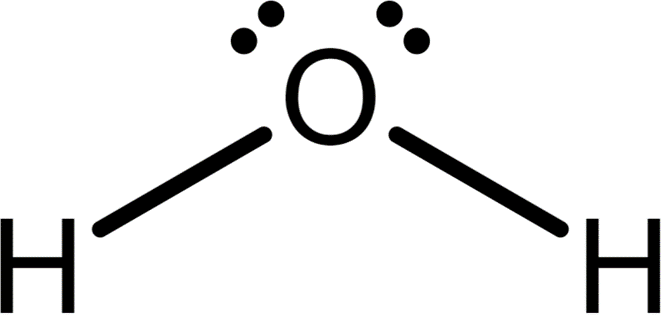
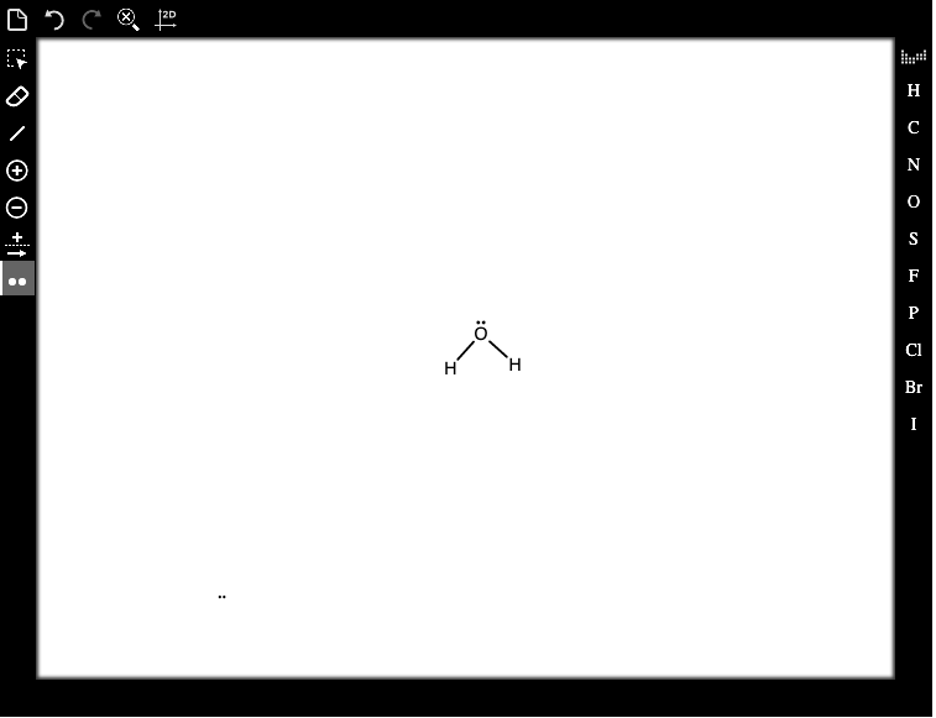
Example 2: Water, H2O
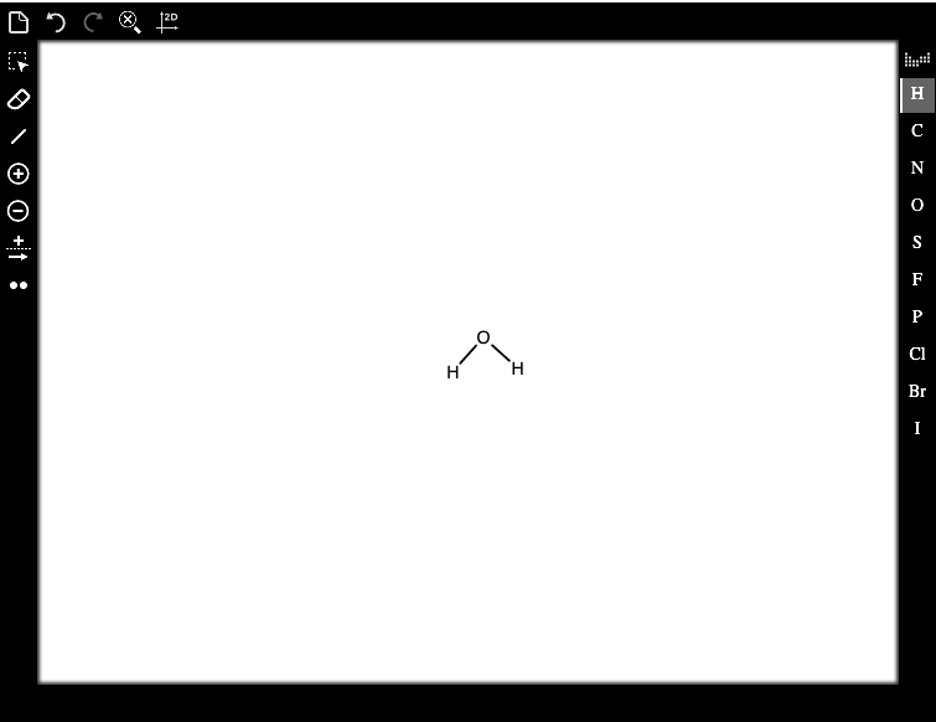
Using a method similar to that for CH4 above, you can draw water, H2O. The water molecule, as shown in the figure below, has lone pairs of electrons on the oxygen atom. To add them, you will need to use the Lone Pair tool,![]() . The final drawing should look similar to this:
. The final drawing should look similar to this:
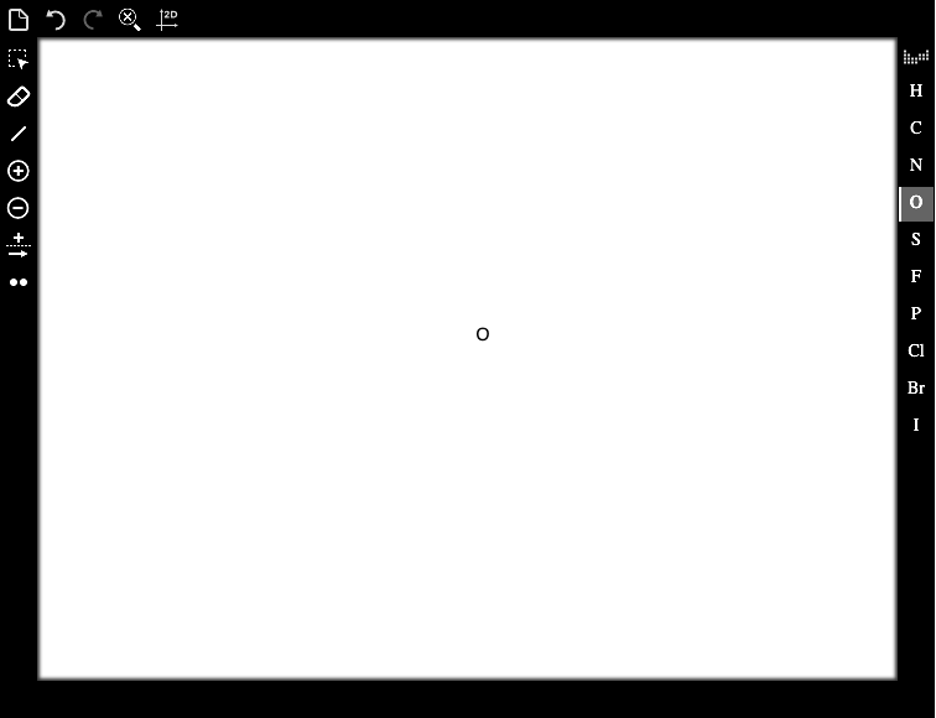
You can start by selecting the O atom from the Elemental Symbols toolbar and clicking in the white workspace.
Activate hydrogen by clicking on the H icon in the Elemental Symbols toolbar. Mousing over the O in the workspace will highlight the O with a blue circle around it.
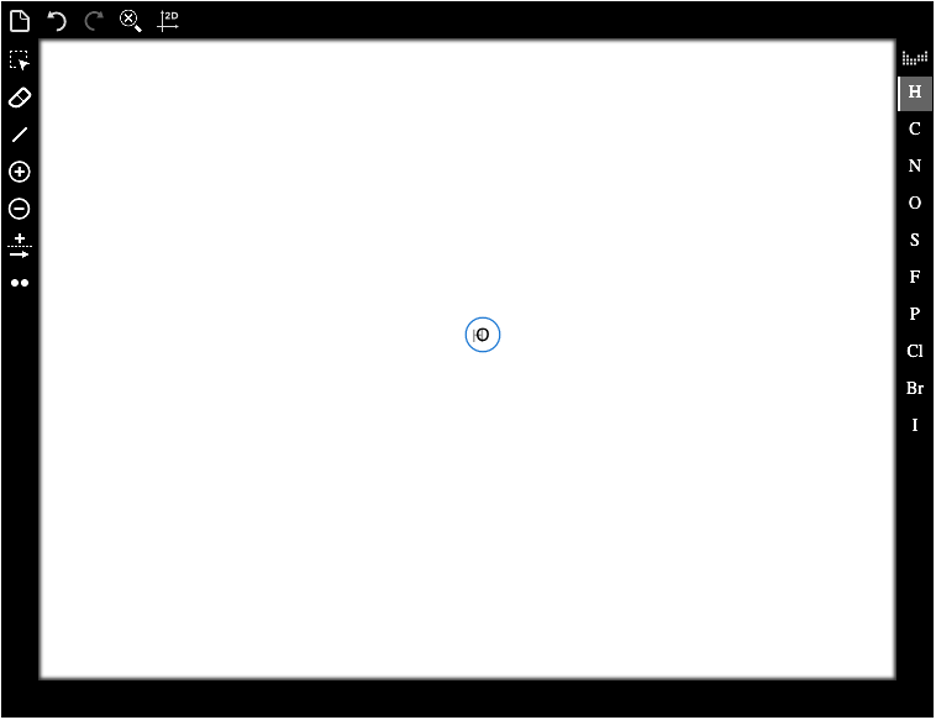
With the O highlighted with the blue circle, click and hold the left mouse button while dragging the mouse away from the O atom. This will draw a single bond between the O and the H when you release the mouse button. To add the second H atom, click on the O and drag again.
To access the Lone Pair tool dropdown menu, click on the Lone Pair tool icon, ![]() .
.
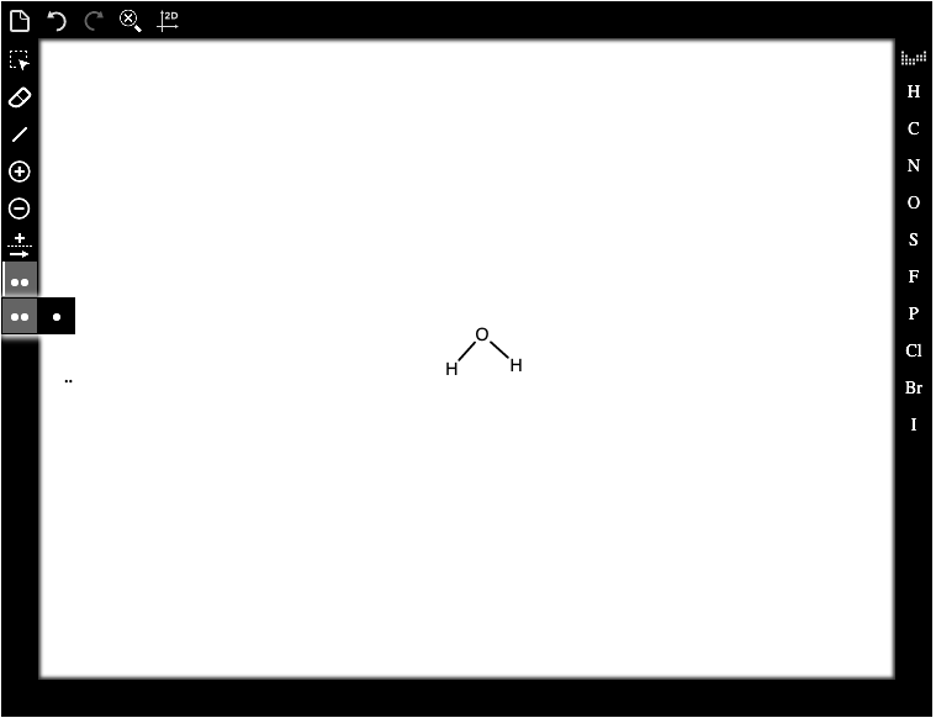
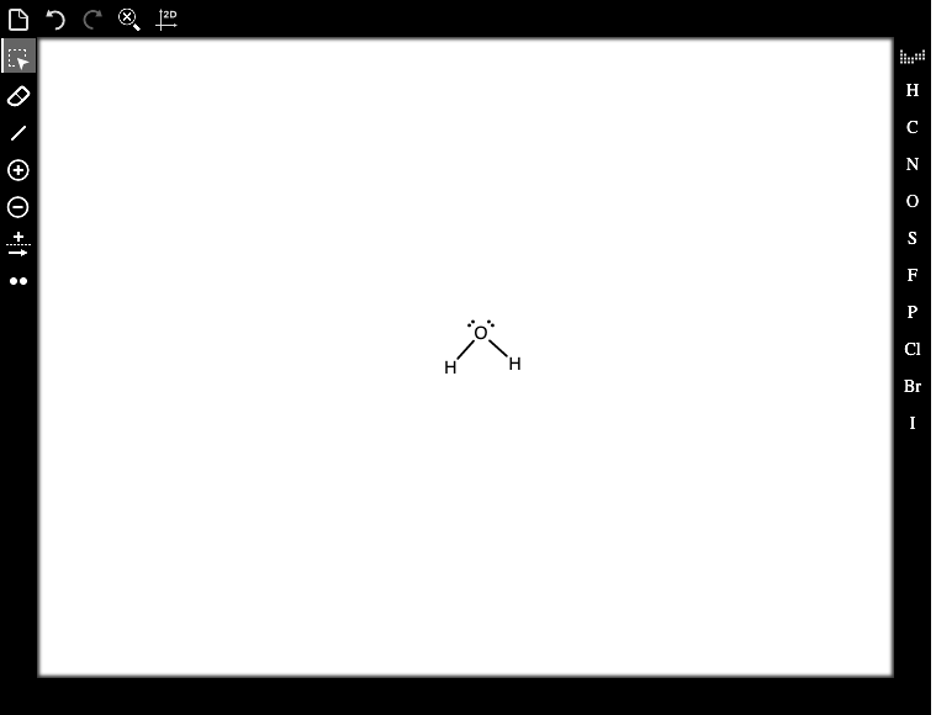
The O atom in water should have two lone pairs of electrons. In the dropdown menu, click on the pair of electrons (two dots) to activate it. To add the first pair, click on the O atom.
To add the second pair, click on the O atom again. Notice that the positions of the lone pairs on the O atom are automatically adjusted when the second pair is added.
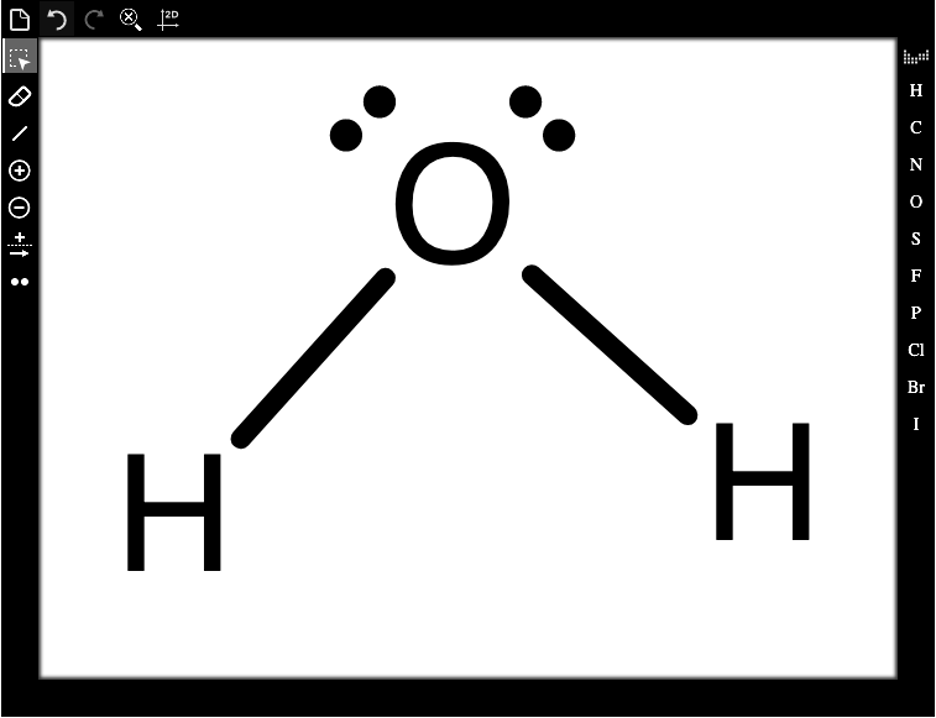
To “clean up” the structure, click on the Clean tool, ![]() . The Clean tool is especially helpful when drawing more complicated structures, as it organizes the drawing(s) within the workspace. For a better view, click on the Zoom button,
. The Clean tool is especially helpful when drawing more complicated structures, as it organizes the drawing(s) within the workspace. For a better view, click on the Zoom button, ![]() .
.
Below is a video demonstration of Example 2:
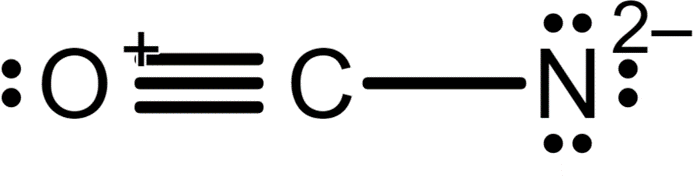
Example 3: Isocyanate ion, OCN–
In drawing the isocyanate ion, OCN–, you will learn how to add charges to atoms using the Increase Charge, ![]() , and Decrease Charge,
, and Decrease Charge, ![]() , tools. You will also learn how to add the triple bond between the O and C atoms using the Bond tool,
, tools. You will also learn how to add the triple bond between the O and C atoms using the Bond tool, ![]() .
.
Note: While the particular resonance structure of the ion shown below is not the most chemically stable, it was chosen since several MDM tools could be used to draw it.
In addition to the method presented in the previous two examples, another way to draw a molecule that contains multiple chemical elements is to draw the basic structure using only one element and then using the Elemental Symbols tool bar to change them to the proper elements. In this example, the basic structure is drawn with all C atoms.
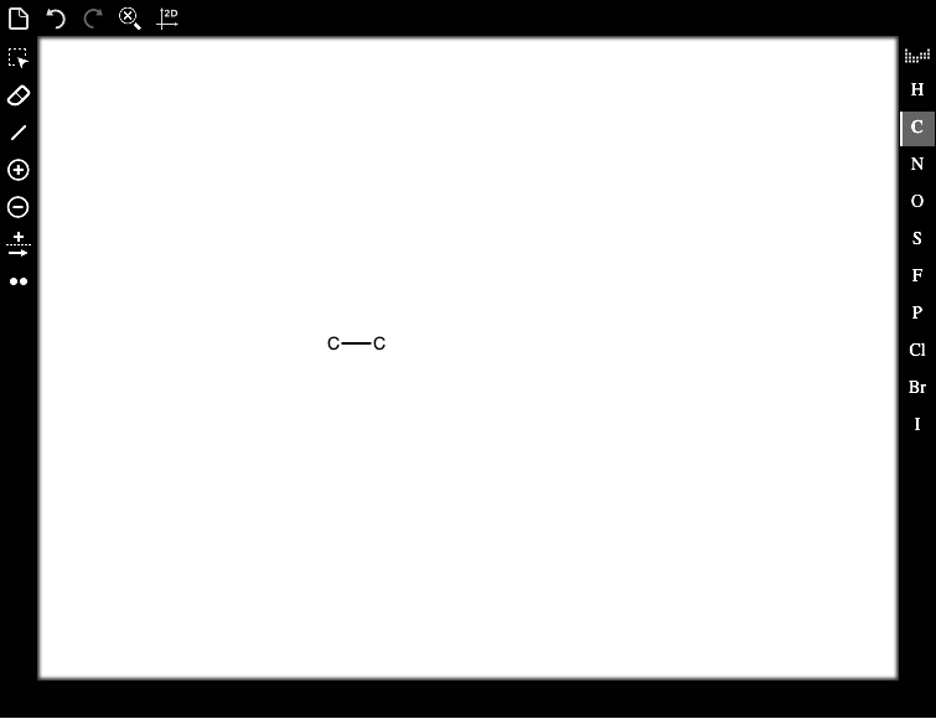
Click on the C in the Elemental Symbols toolbar. Next, click in the white workspace. The C atom will appear. Mouse over the C atom to highlight it with a blue circle. Click and hold on the C while dragging the mouse to the right. A second C bonded to the first will display.
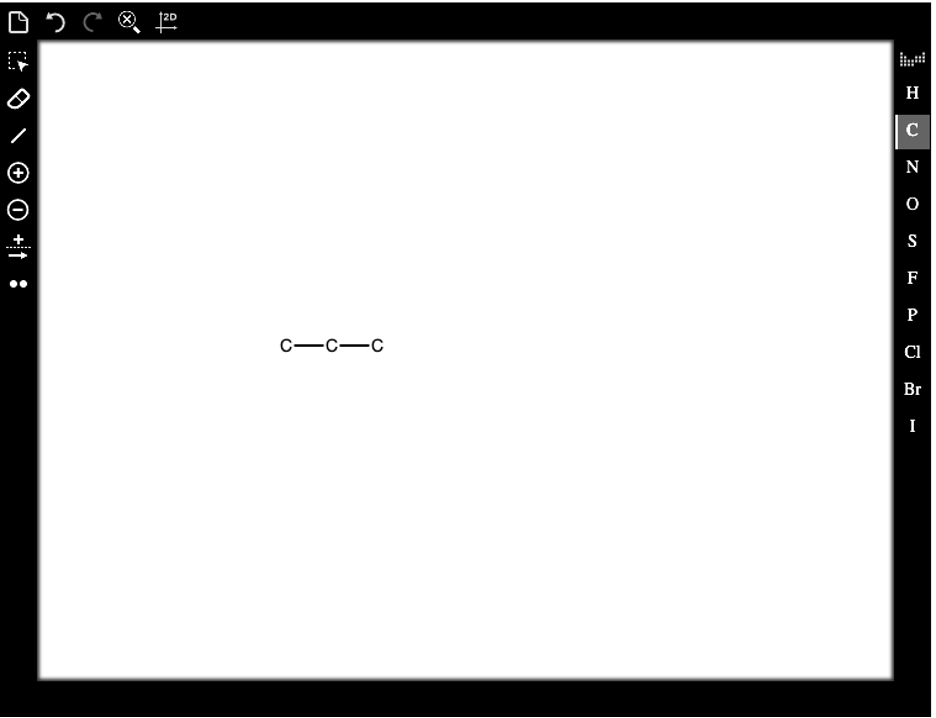
Mouse over the C atom on the right to highlight it with a blue circle. Click and hold while dragging the mouse again to the right to make the third C appear. You structure should look like this.
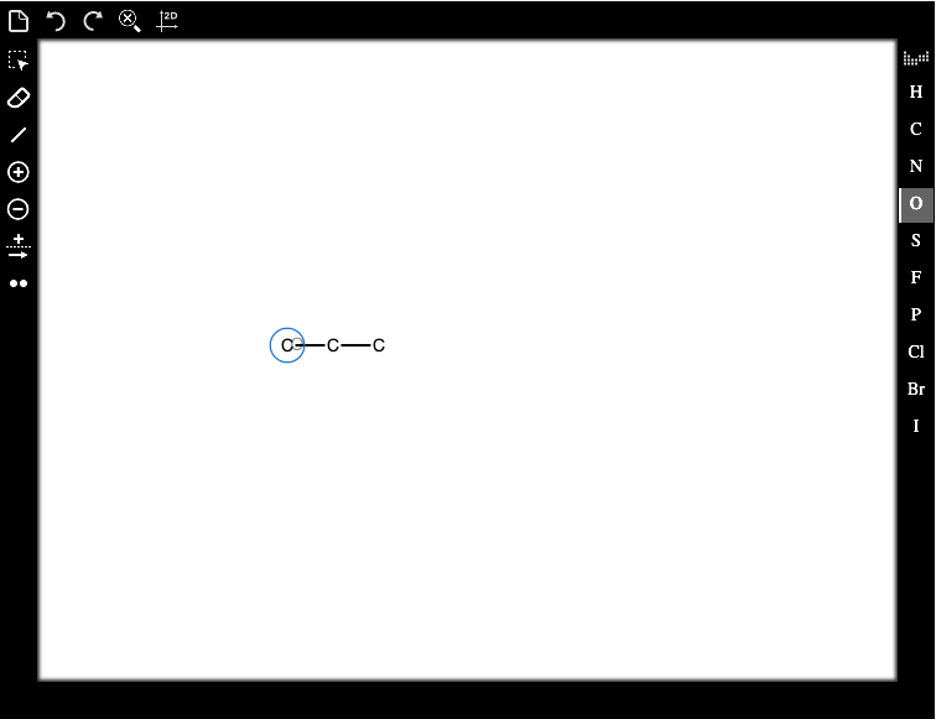
To change the left C atom to an O atom, click on the O in the Elemental Symbols toolbar, followed by clicking on the left C atom.
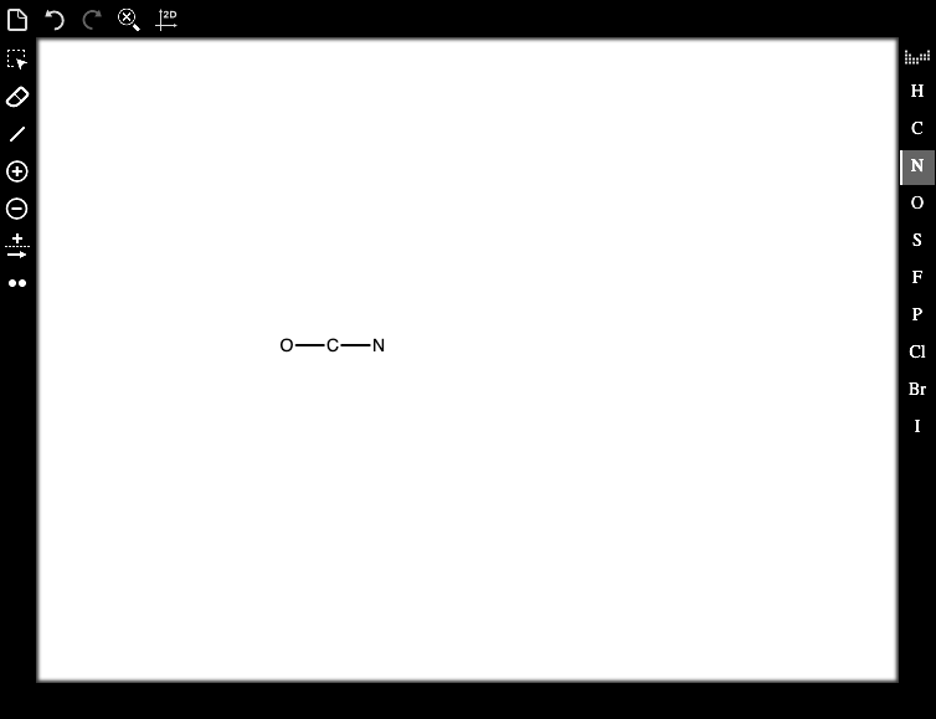
Repeat the process to change the C atom on the right to a N atom. Click on the N in the Elemental Symbols toolbar, followed by clicking on the right C atom.
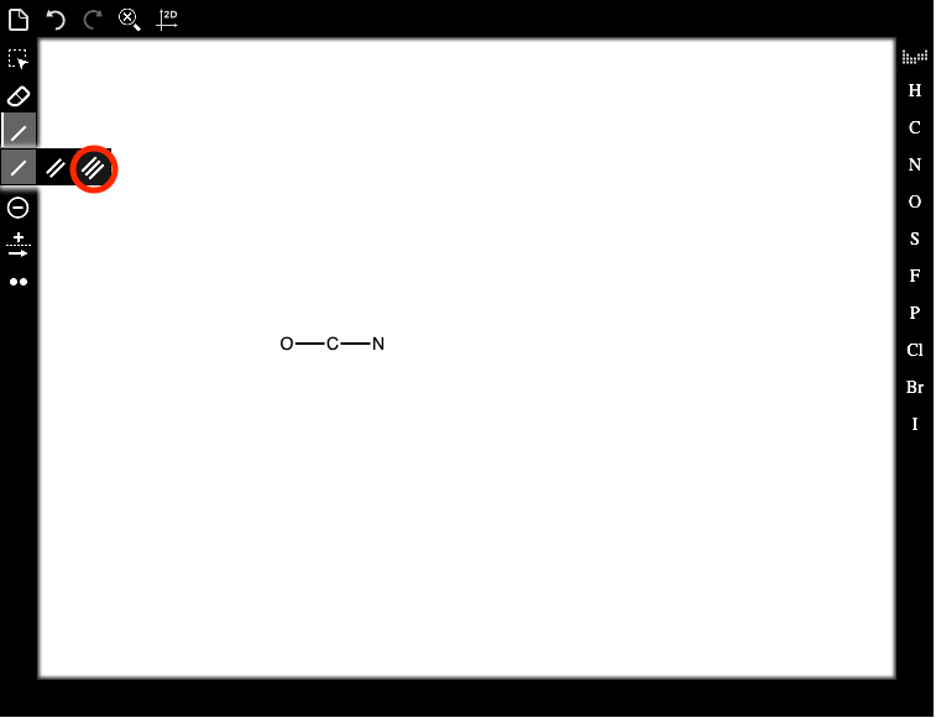
To add the triple bond between the O and C atoms, click twice on the Bond tool, ![]() . From the dropdown menu, select the triple bond (three lines) circled in red in the figure below.
. From the dropdown menu, select the triple bond (three lines) circled in red in the figure below.
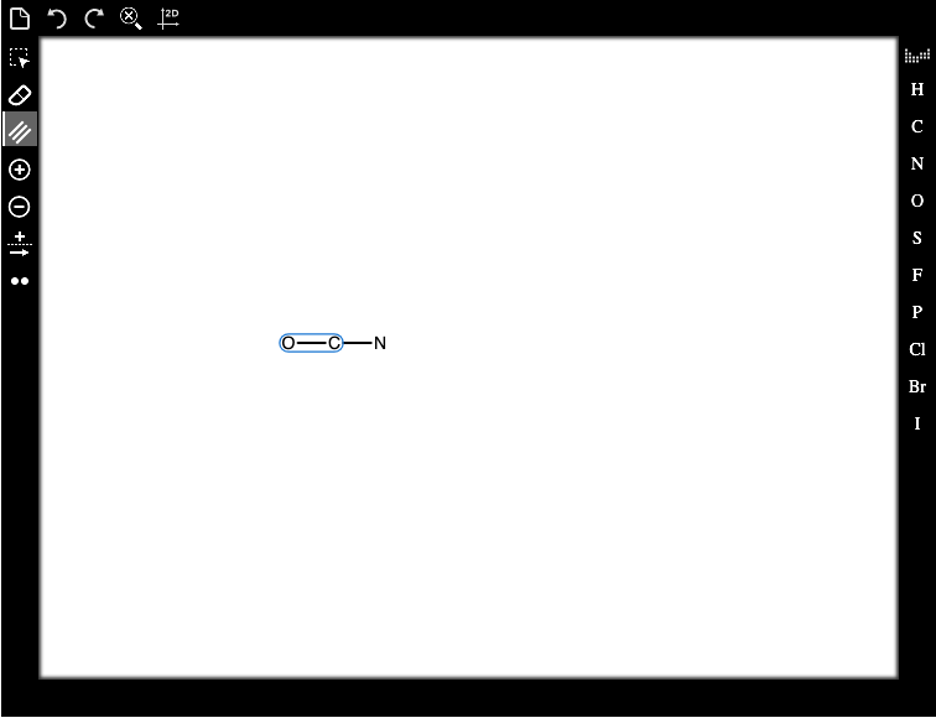
Mousing over the bond between the O and C atoms will circle it in blue.
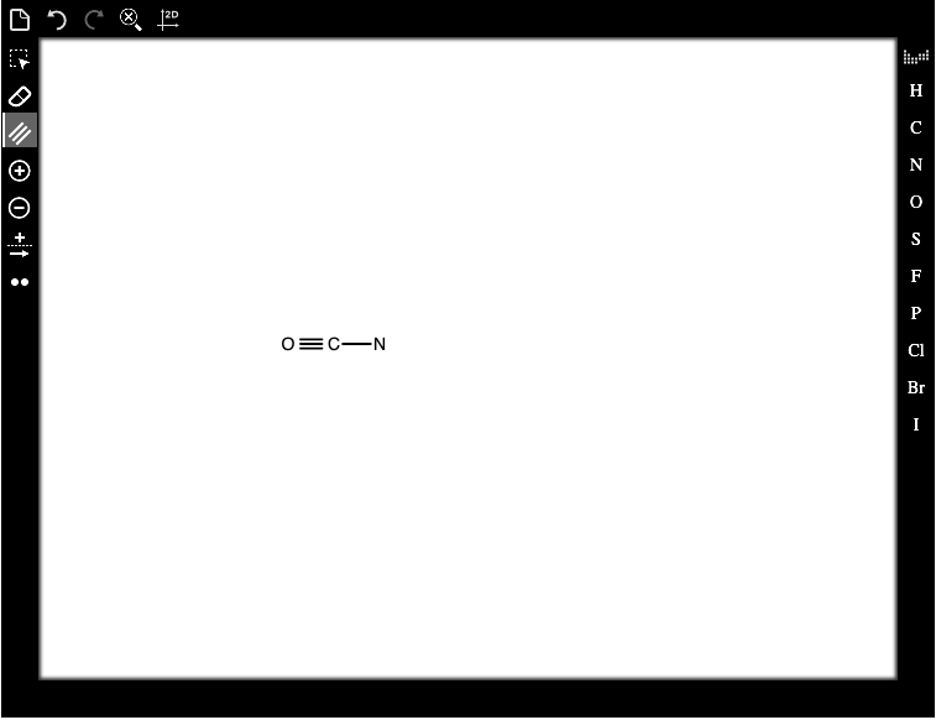
Clicking on the circled bond will change it to a triple bond.
To make the molecule larger within the workspace, click to open the Zoom dropdown menu,![]() , and select the Zoom-in tool.
, and select the Zoom-in tool.
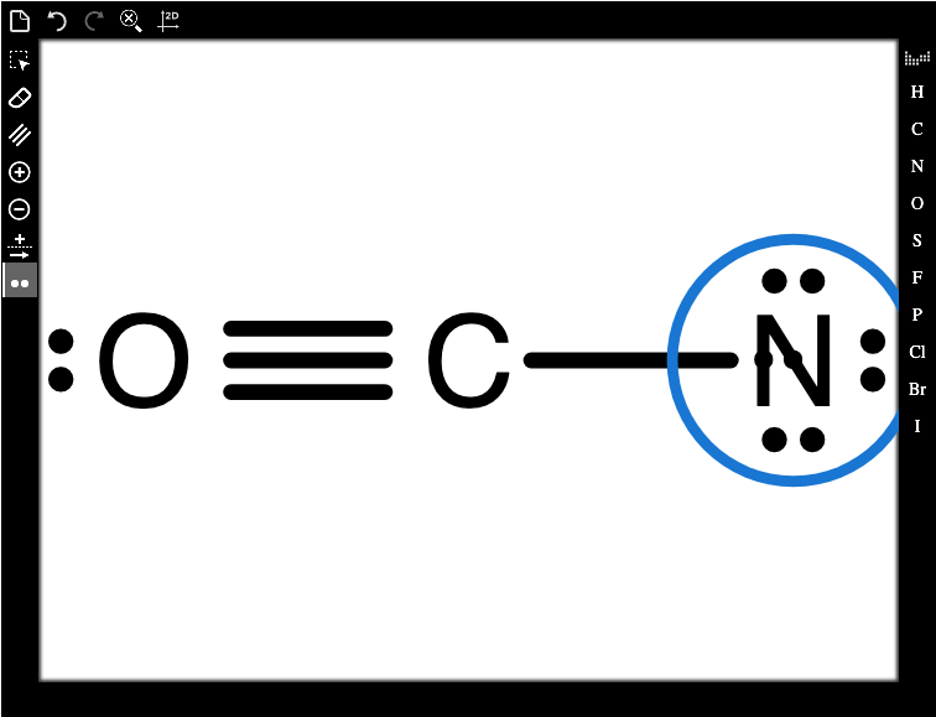
To add the lone pairs to the molecule, click the Lone Pair tool,![]() . Mouse over the O atom to highlight it, and then click once to add its lone pair. Repeat this process by mousing over the N atom and clicking three times, once for each lone pair.
. Mouse over the O atom to highlight it, and then click once to add its lone pair. Repeat this process by mousing over the N atom and clicking three times, once for each lone pair.
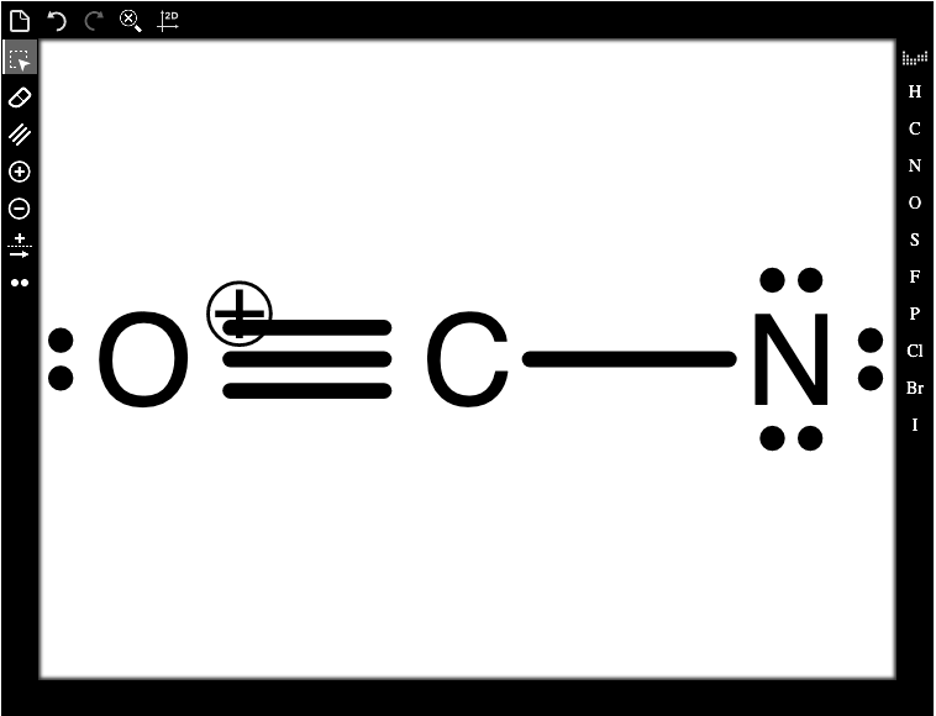
According to the original molecular drawing above, the formal charge on the O atom is 1+, while that of the N atom is 2–. The C atom has a formal charge of zero. To add the 1+ charge to the O atom, click the increase charge tool,![]() . Hover your mouse over the O atom so the blue circle appers and click on it once. The charge will appear on the upper right side of the O atom.
. Hover your mouse over the O atom so the blue circle appers and click on it once. The charge will appear on the upper right side of the O atom.
Note: After doing this, only the plus symbol (+) will be shown; the number 1 is omitted from the structural drawing. Occasionally, the bonds and charges may overlap on the screen as shown below, but the question will still grade normally.
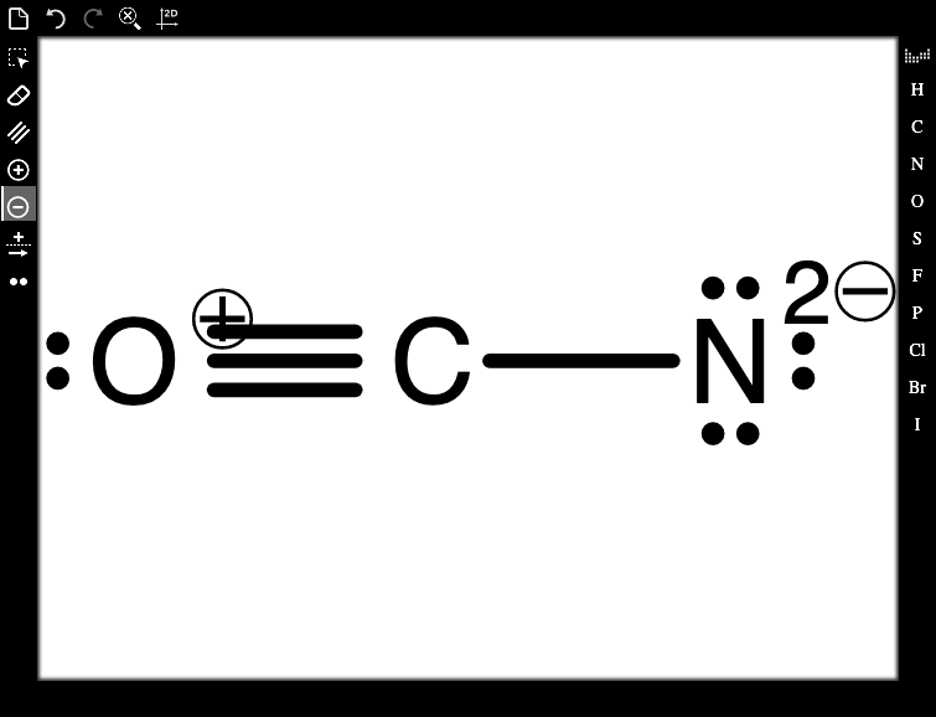
To add the 2– charge to the N atom, click the Decrease Charge tool, ![]() . Highlight the N atom so a blue circle appears and click on it twice. The charge will appear on the upper-right side of the N atom. For a better view of the molecule, click the Zoom button,
. Highlight the N atom so a blue circle appears and click on it twice. The charge will appear on the upper-right side of the N atom. For a better view of the molecule, click the Zoom button, ![]() .
.
Note: When adding charges to atoms, click the number of times necessary to increase or decrease the charge to the appropriate value. If you click too many times, you can click the undo button, ![]() , or use CTRL+Z to go back to the appropriate charge. Another option is to continue clicking on the atom to cycle back to the proper charge.
, or use CTRL+Z to go back to the appropriate charge. Another option is to continue clicking on the atom to cycle back to the proper charge.
Below is a video demonstration of Example 3:
Valence Error
A valence error message will be displayed if the formal charge on an atom does not match with the valence due to surrounding bonds and lone pairs. In the structure below, the terminal oxygen atom with a complete octet must have a formal charge of -1.
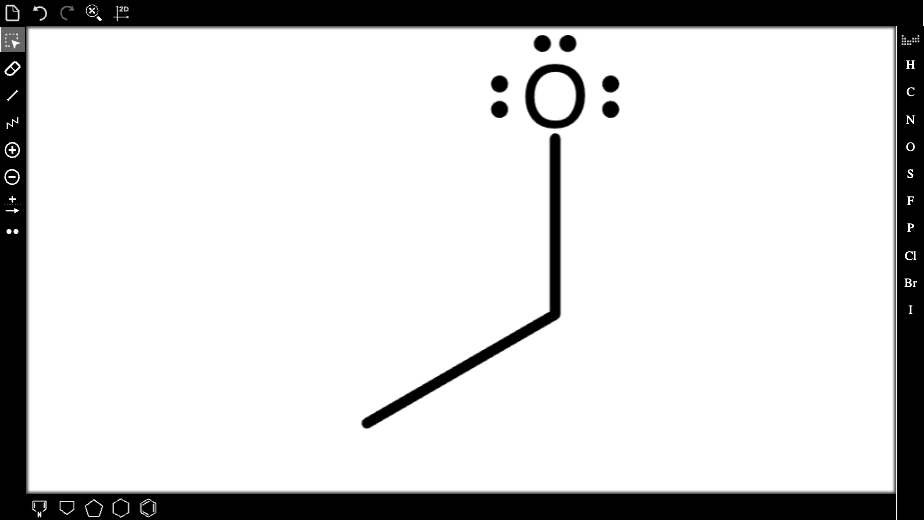
Because the negative formal charge is not labeled on the atom, the valence error will be displayed as the feedback after the question is submitted. This valence check will automatically apply to all structures drawn, and will supersede other feedback.

Drawing Errors
A warning message will be displayed if you draw two arrows on top of each other. To dismiss the message, use the delete tool to remove one of the duplicate arrows before continuing.
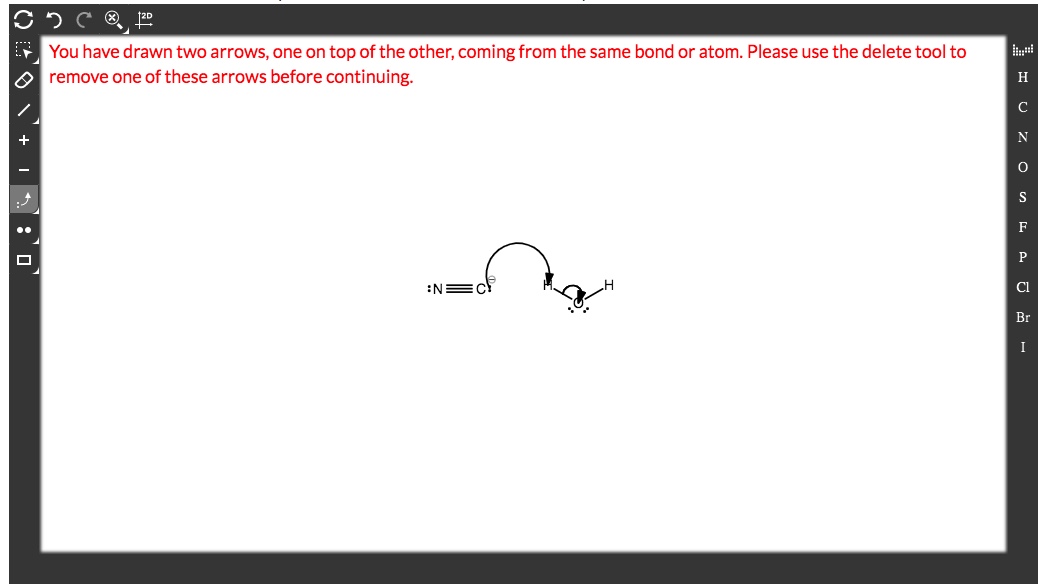 Example of error warning
Submit a Support Request
Still need help? Submit a support ticket and a customer support specialist will be happy to assist you.
Opened a request already? Click here for an update.
