
InQuizitive works on computers, tablets, and smartphones and integrates with the Norton Ebook Reader and other digital products. This page provides details on how users can access InQuizitive and then manage their associated settings.
How do I log in?
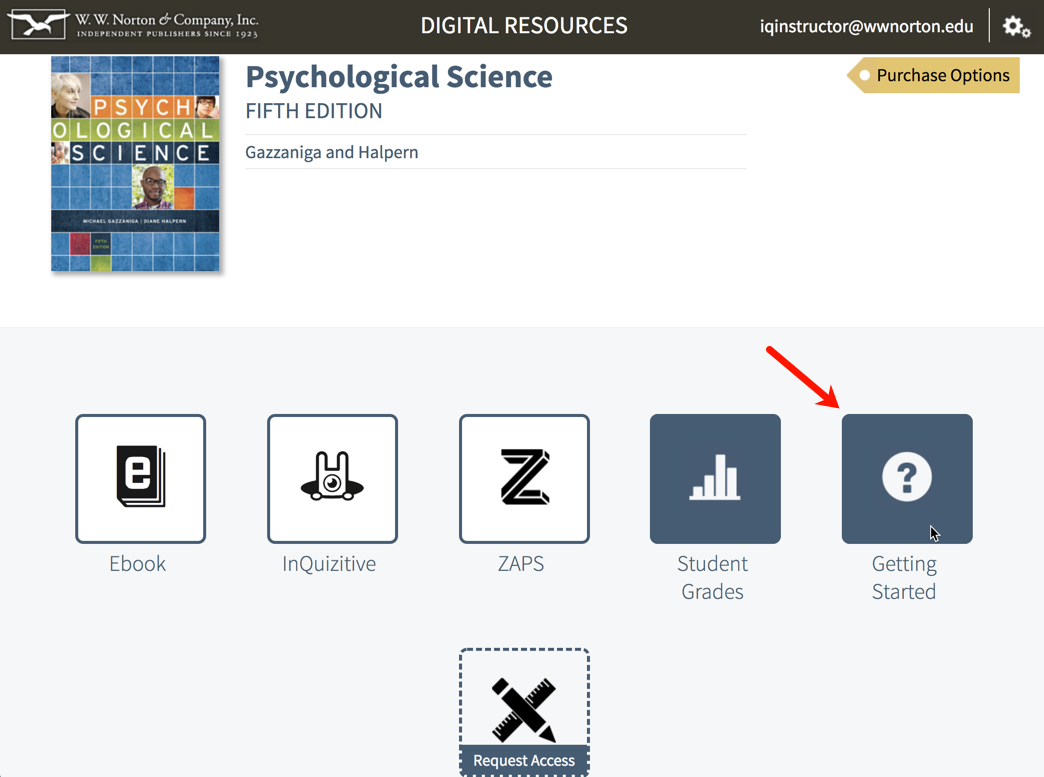
- Log in to your textbook's digital product homepage using your email address and Norton instructor account password.
- Once you're signed in, click on the Getting Started tile for directions on how to set up your InQuizitive section and for registration instructions to distribute to students.
Are there any how-to videos available?
Yes, indeed! Here's a list of videos for both you and your students.
For instructors:
- Creating a Student Set
- Modifying activity settings
- Viewing student results
- Class activity reports
- Overview of how InQuizitive activities work
For students:
How should I use InQuizitive in my classroom?
Since InQuizitive is formative assessment, it’s not intended to be used as high-stakes testing.
It is beneficial to assign InQuizitive activities as pre-lecture assignments to ensure students have read the course materials before coming to class.
To incentivize completion of InQuizitive activities, it’s important to assign them for a grade, however, consider weighting InQuizitive as a relatively small part of students' overall course grade (e.g., 5–10%).
How do students register for InQuizitive?
Students can access InQuizitive in three ways: An InQuizitive registration code comes for free with new copies of select Norton textbooks. Contact your local Norton representative to ensure you've ordered a version of your textbook that comes with InQuizitive access. Students can purchase access to InQuizitive online. Students can access InQuizitive for 21 days through trial access. At the end of 21 days, students will have to enter a registration code or purchase access online.
How do students join my InQuizitive section?
InQuizitive sections are called Student Sets.
To view your students’ grades and other activity data, you will need to create a Student Set for your class section, and then have students join this Student Set.
Here’s how to create a Student Set:
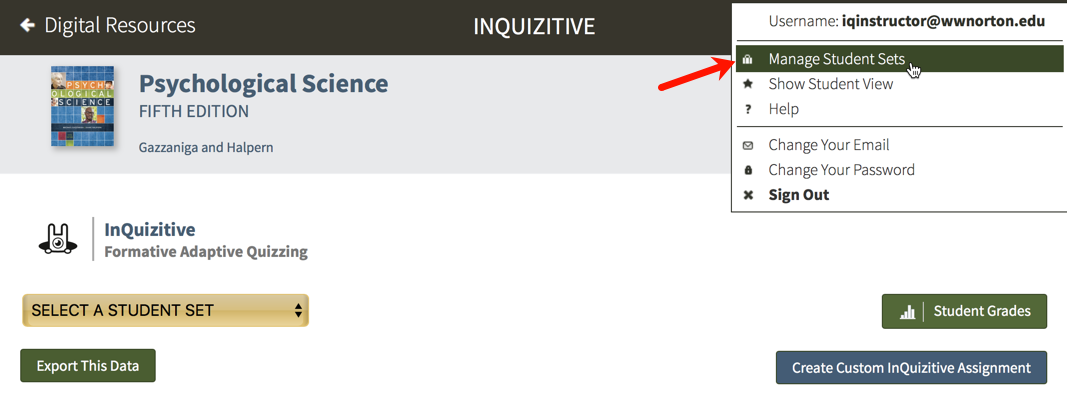
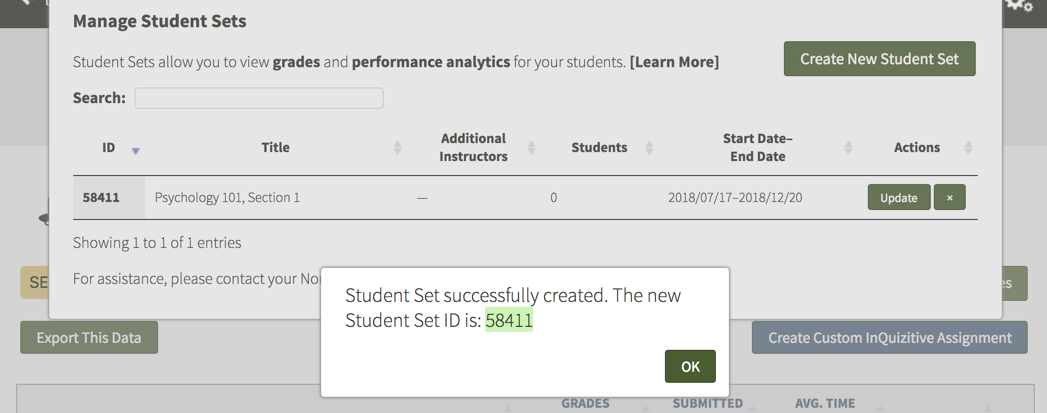
After logging in to the digital product homepage for your textbook, click on the gear menu in the upper-right corner of the page and select Manage Student Sets.
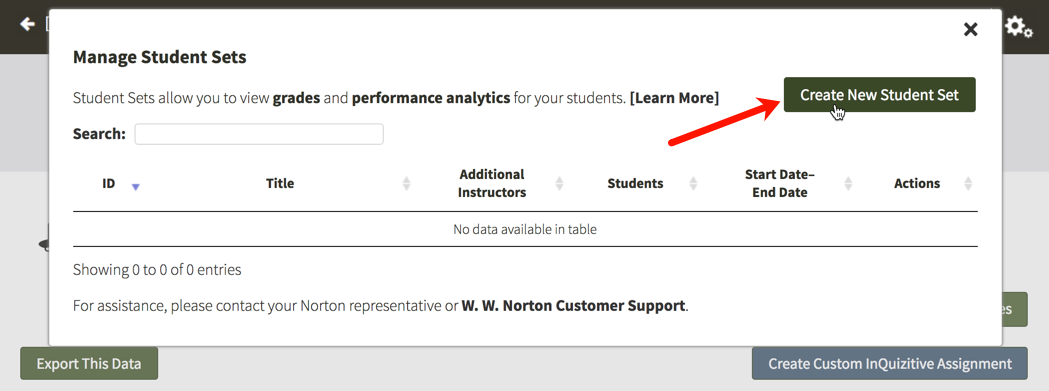
Click the Create New Student Set button.
Select the type of Student Set you would like to create.
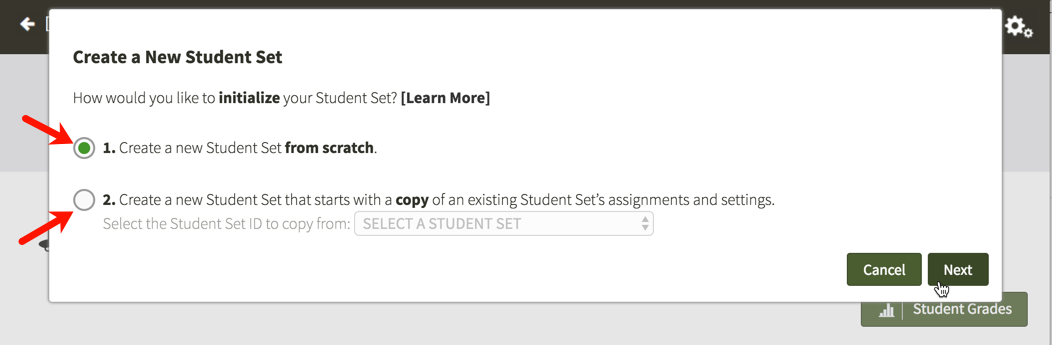
Follow the instructions from there to create a Student Set. Make a note of the Student Set ID and distribute it to your students.
Still need help? Watch this video.
Last, here's how students add themselves to your Student Set.
Note: If you're using LMS integration, you don't need to create a Student Set. A Student Set will be automatically created and students will be automatically added to it after registration.
How do I add a Co-Instructor, a Scoring Teaching Assistant, or a Teaching Assistant to my Student Set?
Note: Adding a TA or STA to your Student Set will not grant that account access to the associated product(s); the TA or STA will still need to register or purchase access to be able to use the Digital Resources for your textbook.
Click on the gear menu in the upper-right corner and select Manage Student Sets from the menu.

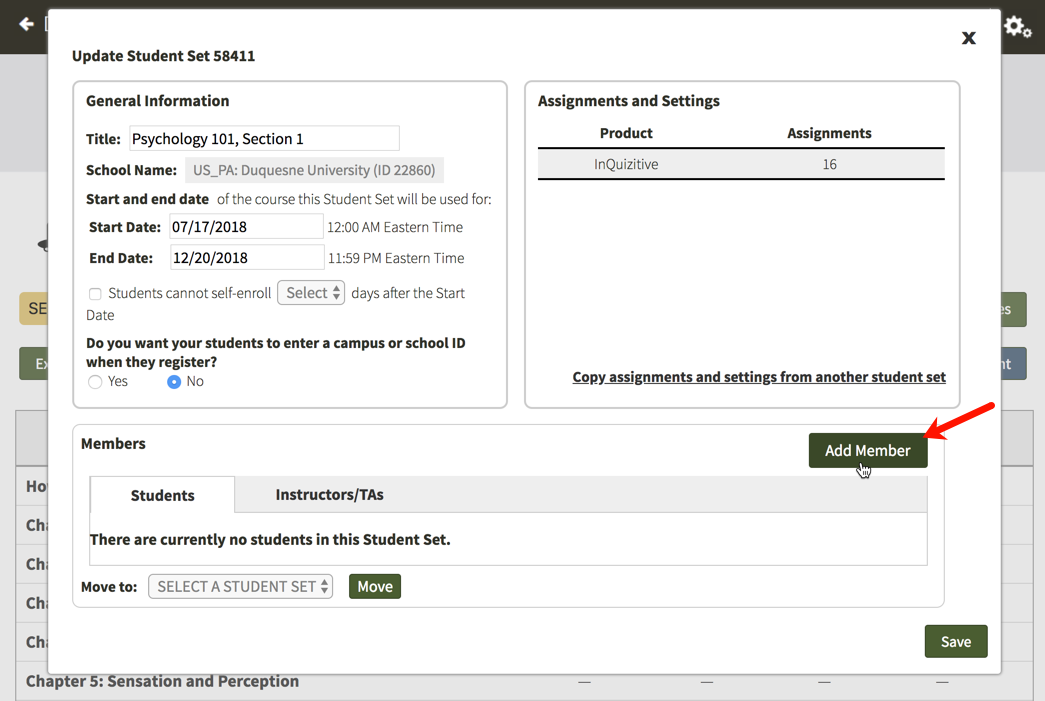
Click the Update button to the right of the Student Set to which you would like to add a Co-Instructor, a Scoring TA, or a TA.

In the Members section, click the Add Member button.
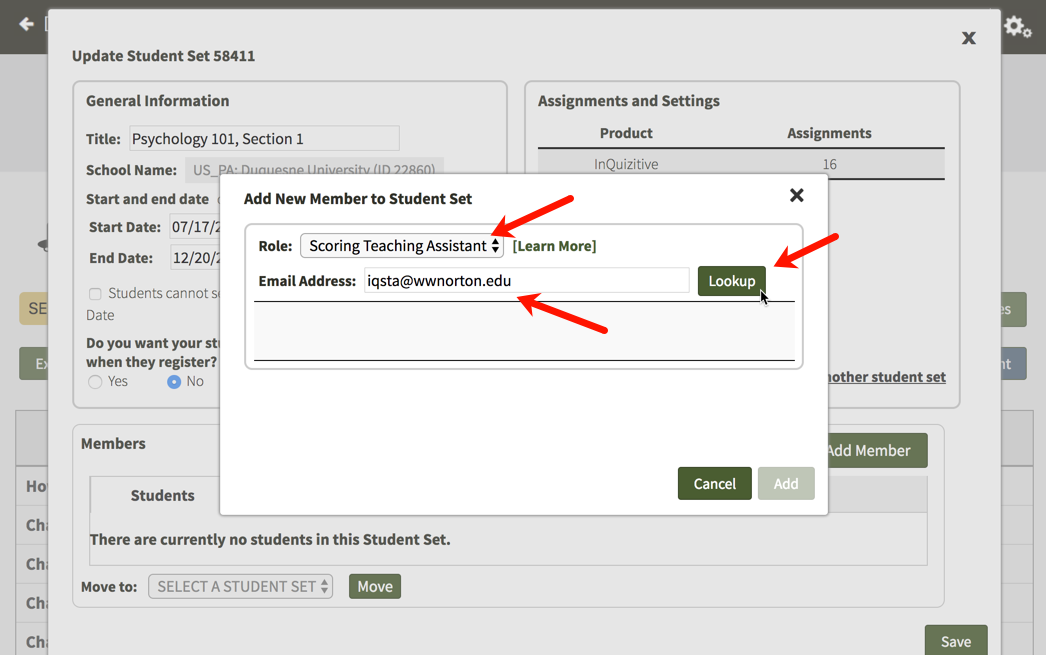
In the Role dropdown menu, select the level of access you would like to give the person who you are adding to your Student Set. For a comparison of the four different roles, please see the Overview of Role Permissions section below. Type in the person’s email address and click the Lookup button.
- If adding a co-instructor, the person you are adding must have a Norton account with full instructor privileges. For help with this, please contact the W.W. Norton Service Desk.
- If you are adding a Scoring Teaching Assistant or a Teaching Assistant, this person does not have to have a pre-existing Norton account. In the case that they do not have a Norton account, we will send them an email with log in instructions once you add them to your Student Set.
- Note: If you are adding a student as a Scoring Teaching Assistant or Teaching Assistant, you are changing their permissions in all Norton products. If they are enrolled as a student in another Student Set, please have them register with a separate email address when logging in as a Teaching Assistant or a Scoring Teaching Assistant.
- Once you give an account a specific level of permission in your Student Set, you cannot downgrade that account to a lower permission level. For example, if you give an account Scoring Teaching Assistant access, you cannot downgrade that account to Teaching Assistant.
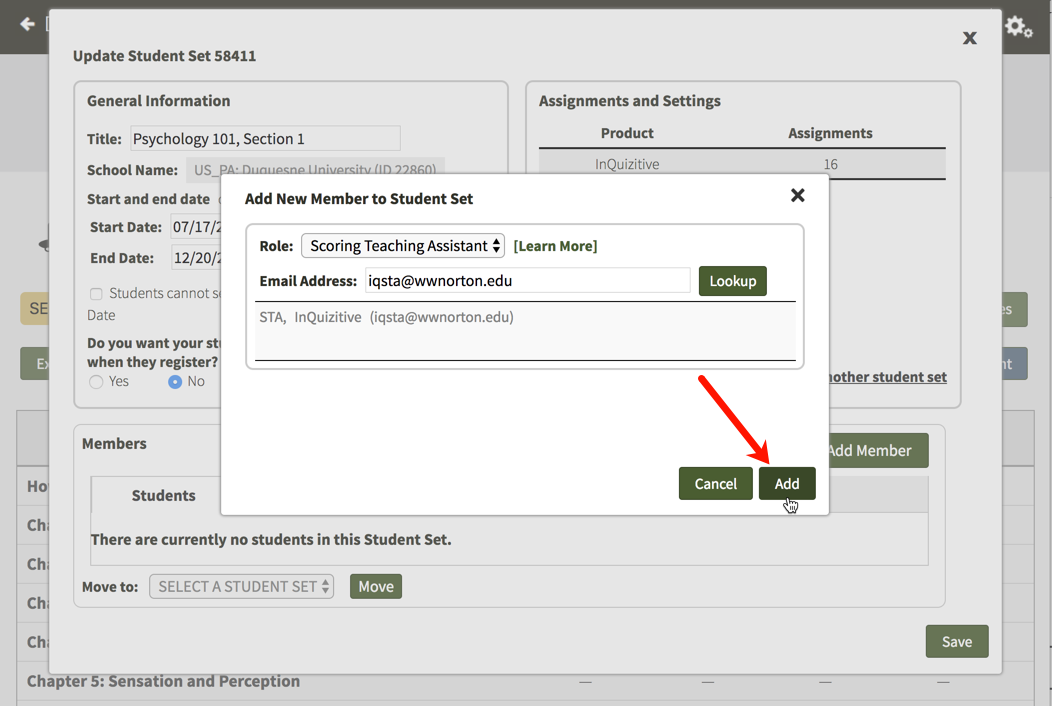
Click on the Add button to add the co-instructor, Scoring TA, or TA to your Student Set.
When you are finished updating your Student Set, click on the Save button in the lower-right corner to save your changes.
Please note: Adding a TA, STA, or Instructor to your Student Set will not grant that account access to the associated product(s); the TA, STA, or Instructor will still need to register or purchase access to be able to access the Digital Resources for the textbook.
Removing Co-Instructors, Scoring TAs, or TAs from Your Student Set
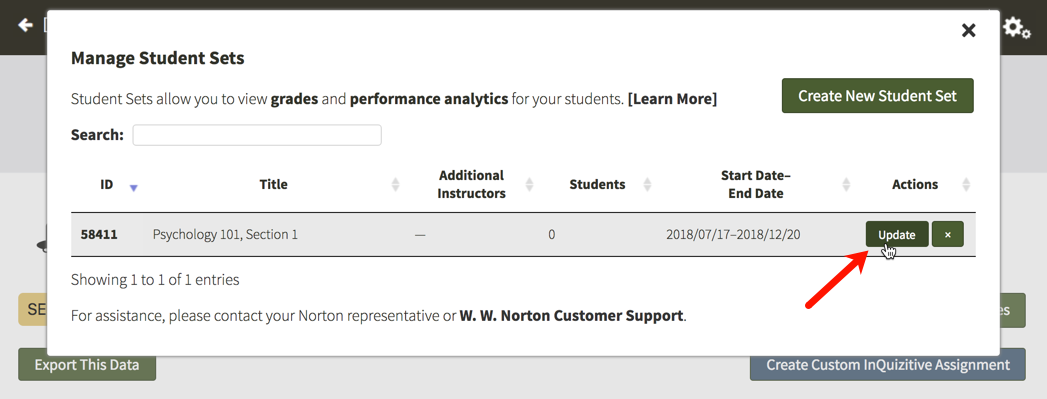
Click on the gear menu in the upper-right corner of the page and select Manage Student Sets from the menu.

Click the Update button to the right of the Student Set from which you would like to remove a co-instructor, a Scoring TA, or a TA.
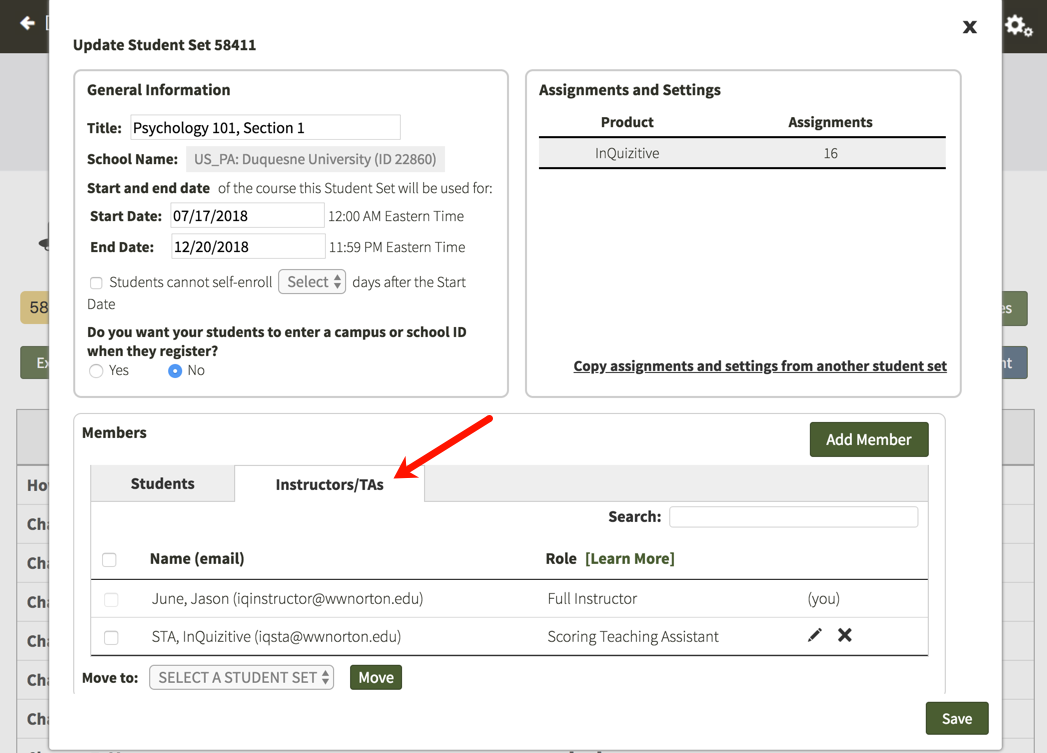
In the Members section, click on the Instructors/TAs tab.
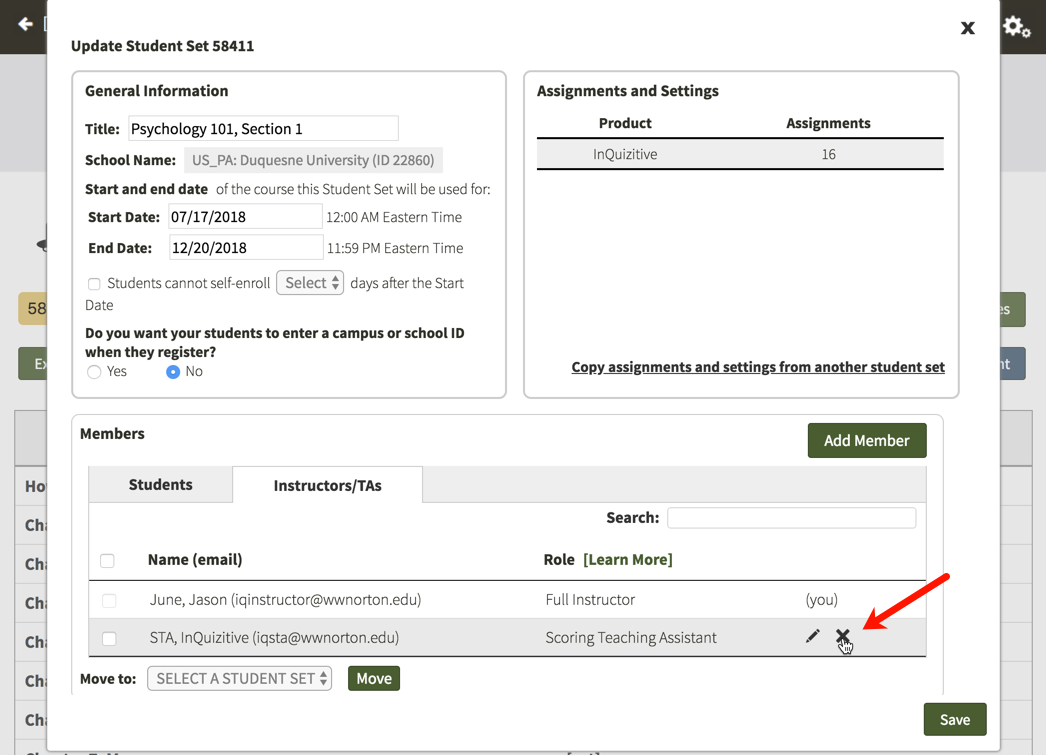
Click on the X icon to the right of the co-instructor, Scoring TA, or TA that you would like to remove from your Student Set.
Note: Removing a Scoring Teaching Assistant or a Teaching Assistant does not reset or change the permissions attached to their account.
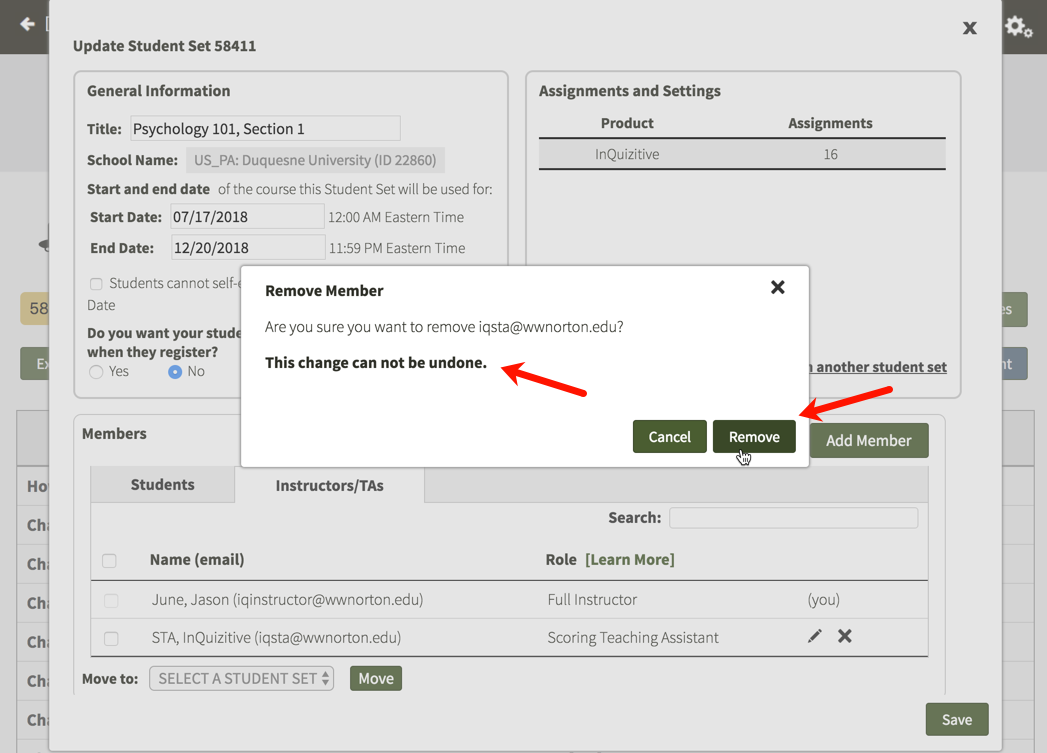
When you are finished updating your Student Set, click on the Save button in the lower-right corner to save your changes.
Overview of Role Permissions
Click on your product to see a complete list of role permissions for Teacher's Assistants, Scoring Teacher's Assistants, and Instructors.
Which devices and browsers are best for accessing InQuizitive?
To view minimum system requirements for using InQuizitive, please click here.
Submit a Support Request
Still need help? Submit a support ticket and a customer support specialist will be happy to assist you.
Opened a request already? Click here for an update.