
After building your test, you’ll want to export it from Norton Testmaker before uploading it to Sakai. See instructions to export the test from Norton Testmaker.
Importing a Test to Sakai
Log into your Sakai course.
In Sakai, there are two options to import the zip file exported from Norton Testmaker. Option 1 will use the Import from Archive tool. Option 2 will use the Lessons tool in Sakai. (Note: for “Made by Norton” premade quizzes, the file exported from Testmaker will be an imscc file.)
Option 1:
- Go to Site Info and then to Import from Archive.
Note: If the Import from Archive option is not available, go to Option 2. - Click Choose File, navigate to and select the downloaded zip file, then click Import.
- The test will appear in two places.
- Find it in a Lessons tool.
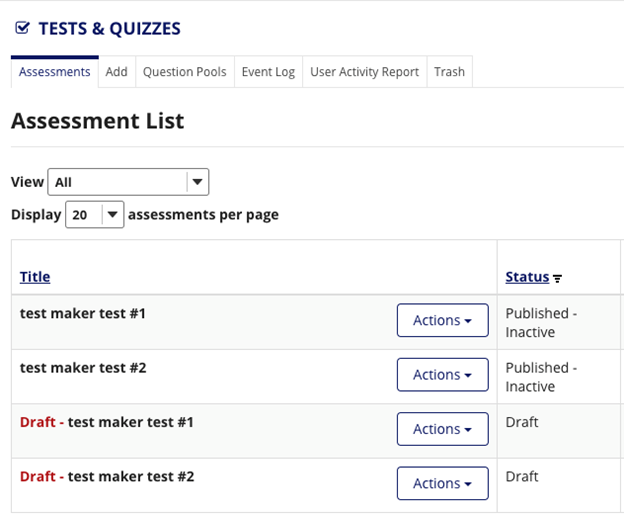
- Find it in Tests and Quizzes in both Published and Draft modes.
Note: You will want to review and edit the Draft test settings, and perhaps the questions as well, before publishing it. To avoid confusion, delete the deployed test in Lessons, as well as the Published version in Tests and Quizzes.
Option 2:
- If there is not a Lessons tool already in the left navigation menu, go to Site Info and then to Manage Tools to add one.
- Click on the Lessons tool in the left navigation menu and go to the More Tools dropdown menu to select Import CC/CP.
- Click Choose File, navigate to and select the downloaded zip file, then click Import.
- The test will appear in two places.
- Find it in the left navigation menu.
- Find it in Tests and Quizzes in both Published and Draft modes.
Note: In the Draft version, you will want to review and edit the settings and the questions as well, before publishing. To avoid confusion, delete the deployed test in Lessons, as well as the Published version in Tests and Quizzes.
Preparing the Test for Access
- In Assessments, find the test in Draft mode.
- Click on the Actions dropdown menu and select an option to configure your test settings as you would any other test. Save changes.
- When your test is ready, select Publish. A published version of the test is now available in Assessments. Important: Do not delete the Draft copy!
Making The Test Available to Students
- Click on the Lessons item where you want the test to appear.
- Click Add Content and scroll to Link to a Test or Quiz.
- On the next page, select the test from the published Existing Quizzes.
- The test will now be available to the student.
Create a Test Using Questions from Two or More Assessments
First, the assessment questions you want to use need to be copied to Question Pools. To do this:
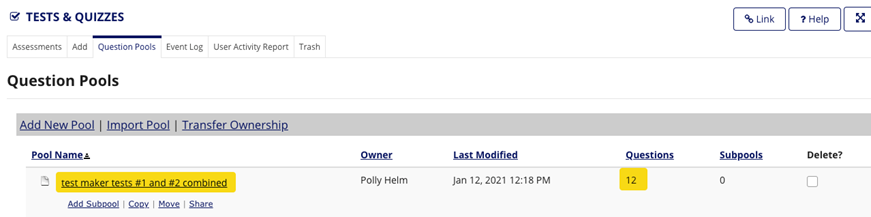
- Create placeholder in Question Pools:
- Click Add Pool.
- Give the pool a name.
- Click Save.
- In Assessments, work with the tests in Draft mode after you have completed any editing.

- From the Actions dropdown, select Edit.
- On the next page, click on Copy to Pool in the upper-right corner.
- On the next page, select the placeholder by putting a checkmark in the box on the left.
- Click Copy.
- Repeat for any other questions you want to add from Assessments.
- You can now create a new test from the Lessons tool and have access to the questions from Question Pools.


Submit a Support Request
Still need help? Submit a support ticket and a customer support specialist will be happy to assist you.
Opened a request already? Click here for an update.