
In Smartwork, you can copy and customize existing W. W. Norton questions for use in your assignments via the Question Editor. You may also edit questions that you authored yourself. Copying and editing questions retains the original, unedited version of the question in your Question Library.
Getting Started
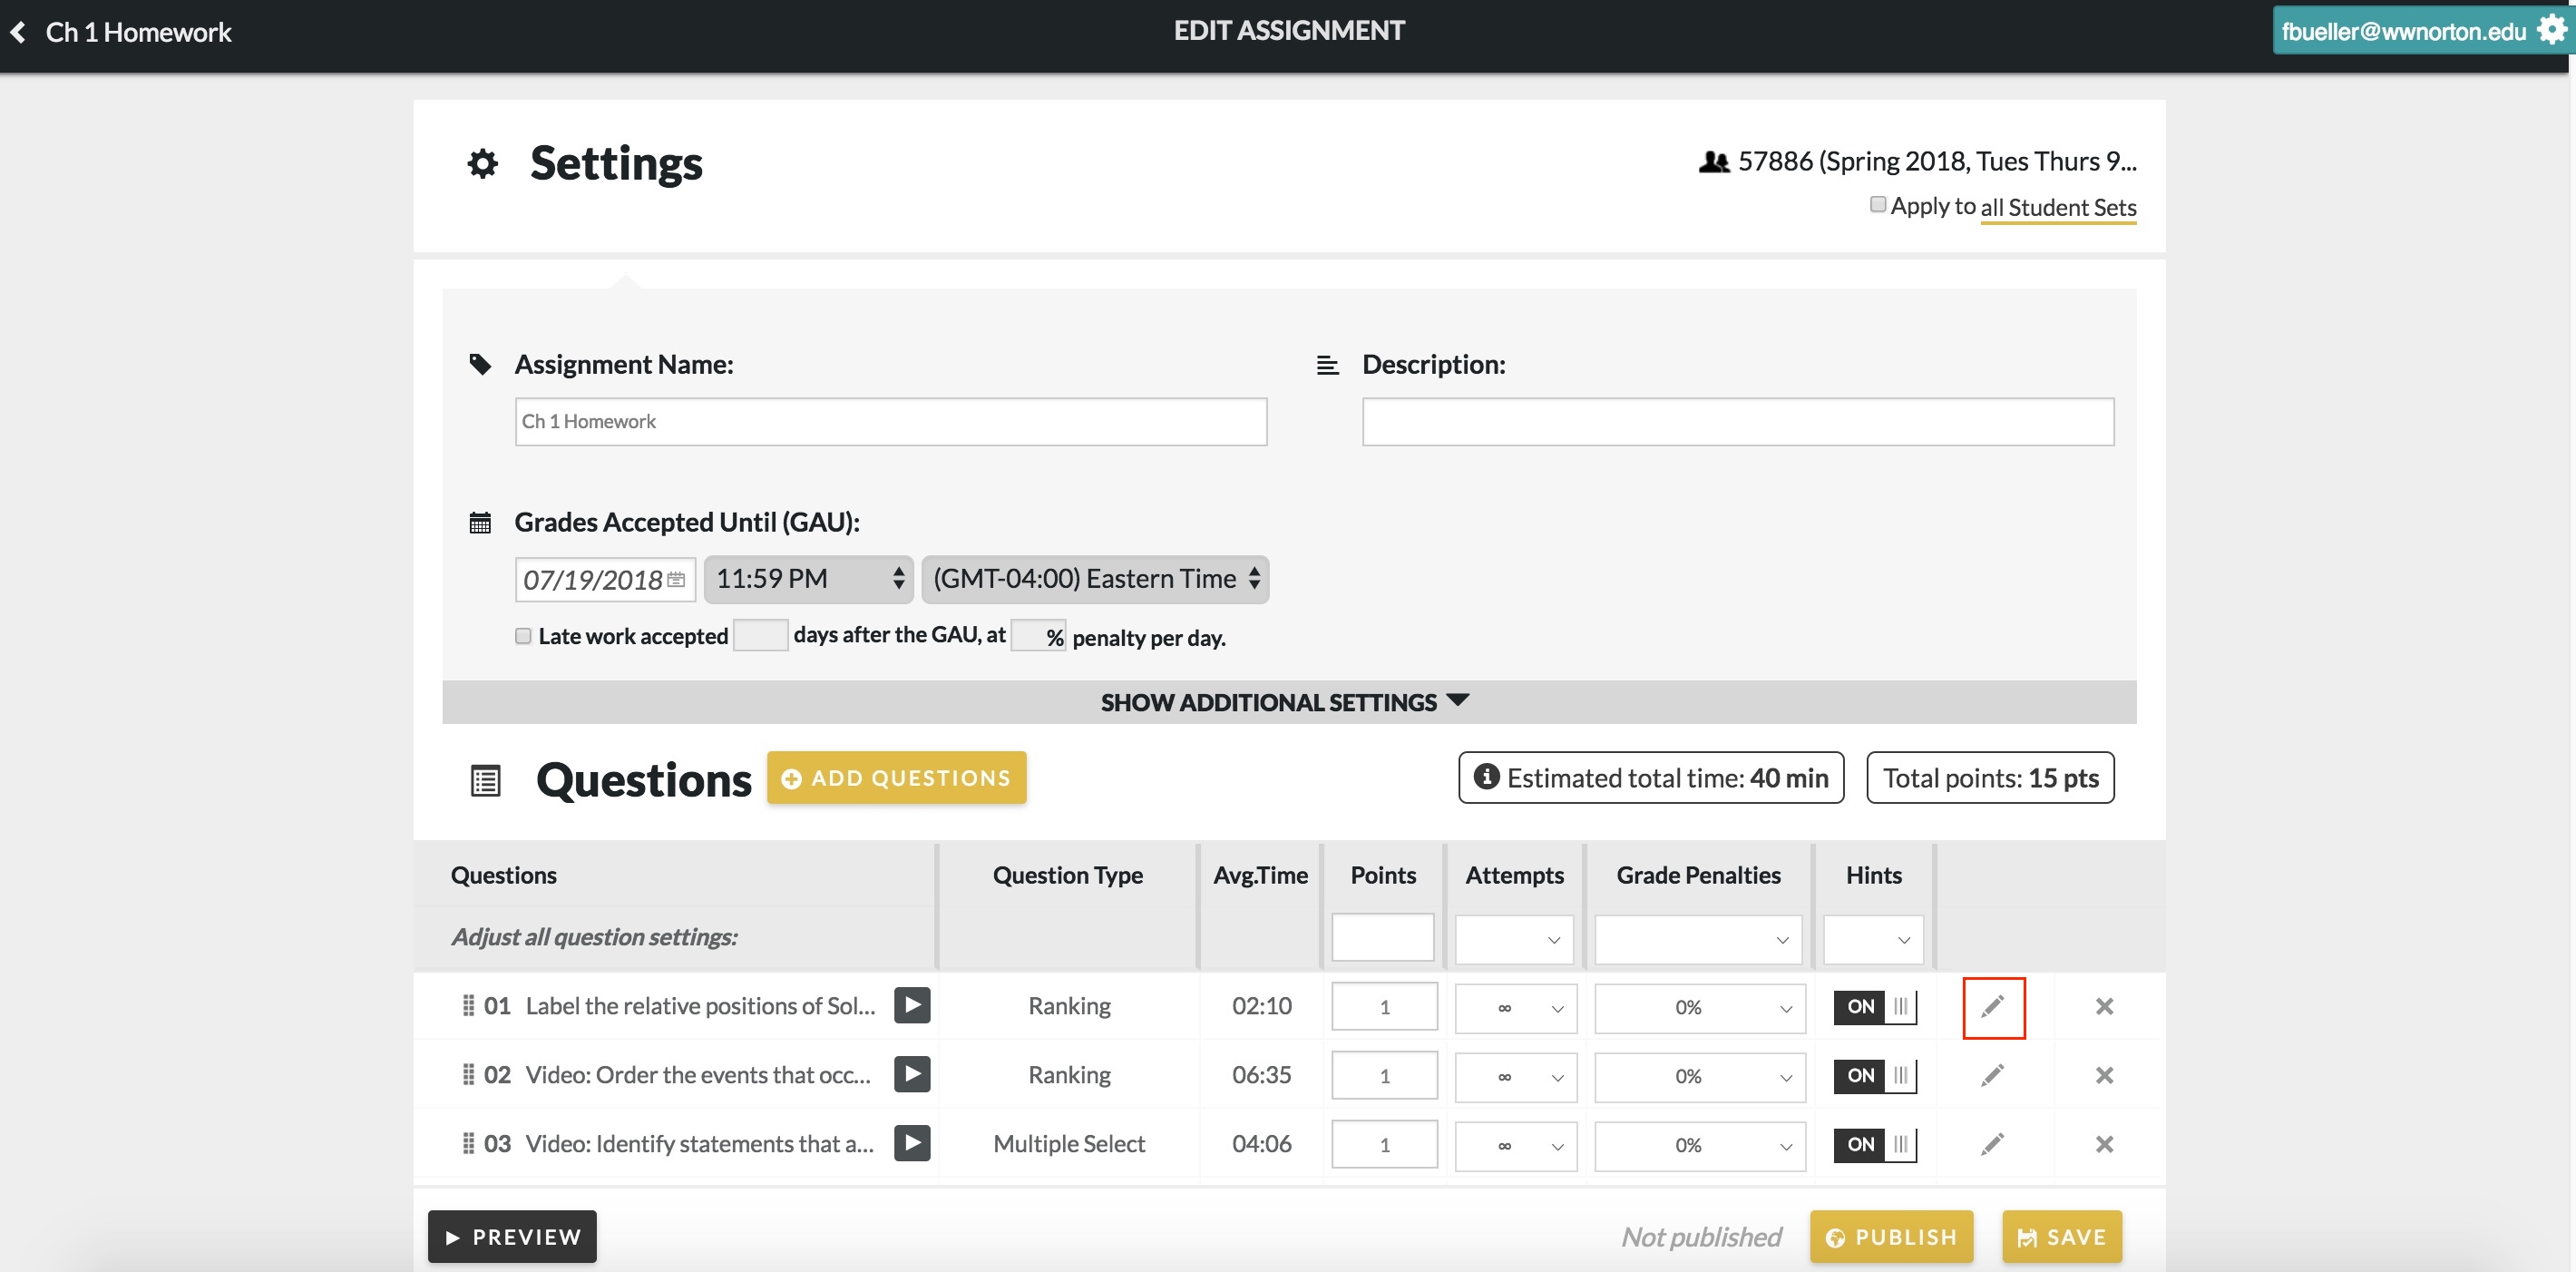
You can enter the Question Editor from either 1) the Assignment Editor or 2) the Question Library.
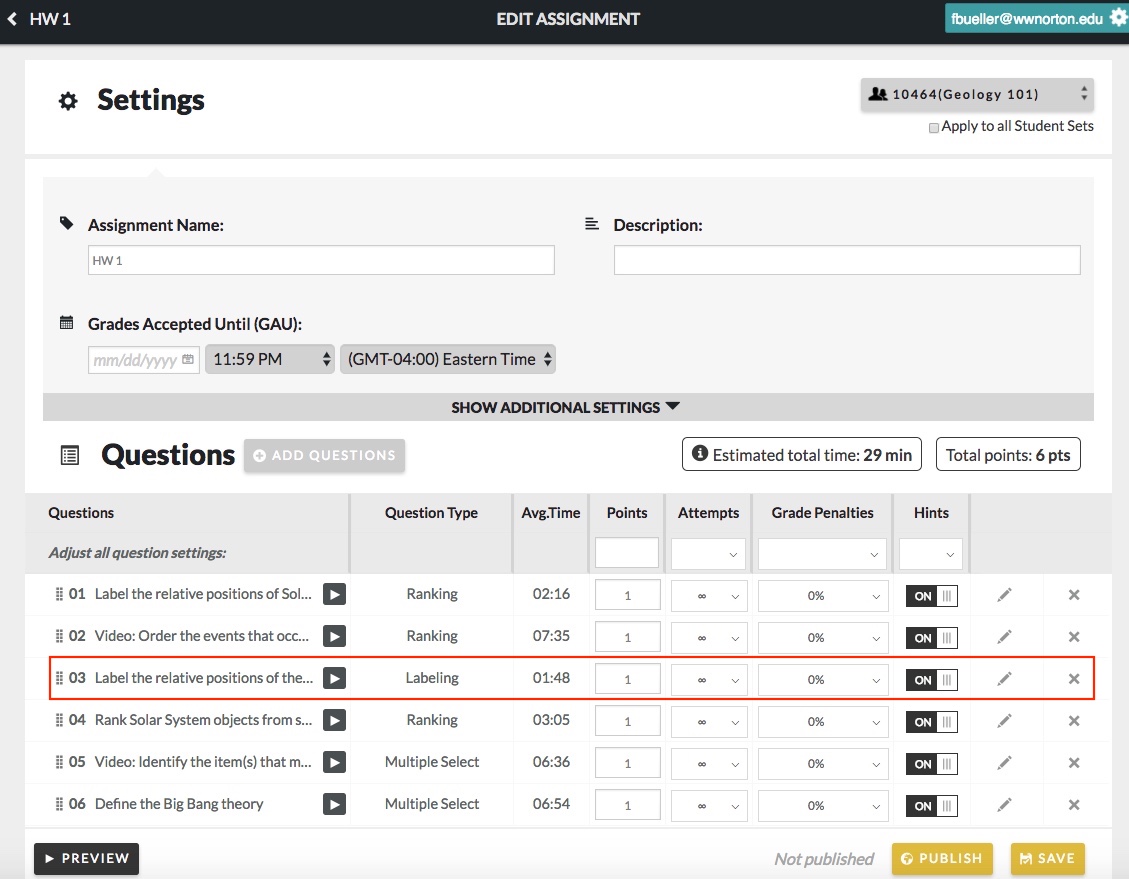
- To enter the Question Editor from the Assignment Editor, click on the pencil next to the question you would like to edit.
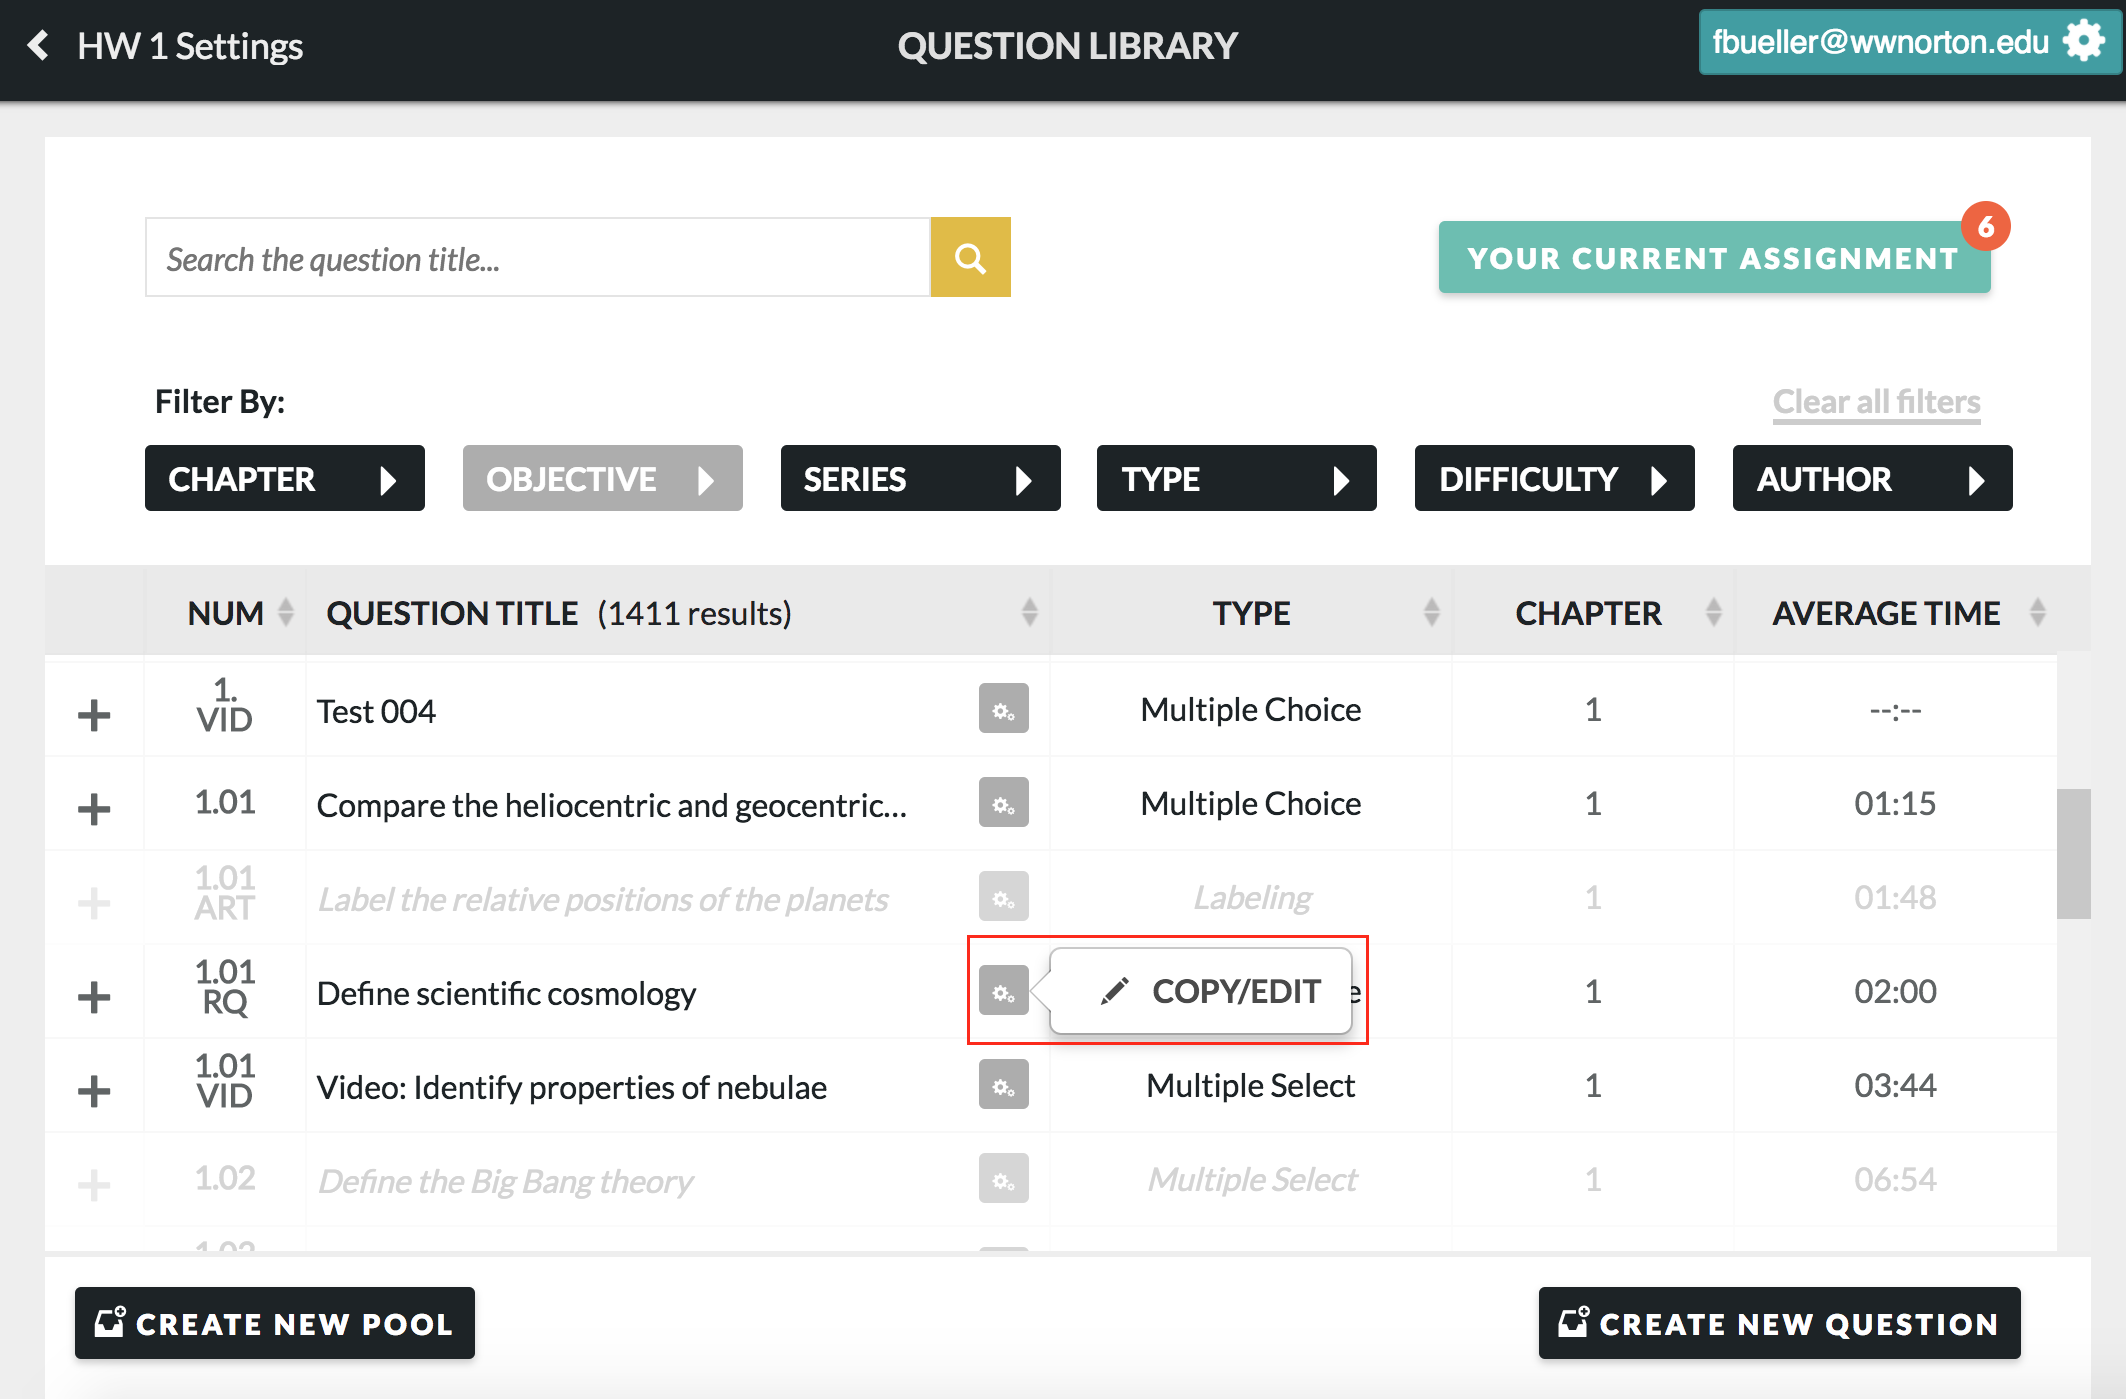
- To edit a question in the Question Library, click on the gear next to the question; then click “Copy/Edit.”
When you edit then save a W. W. Norton question from our question library, this creates a copy of that question in the database. It is this copy of the question that you are editing. This is now your own “custom” version of that question, and it exists alongside the original version, which is still available to you in the question library.
Question Editor Overview
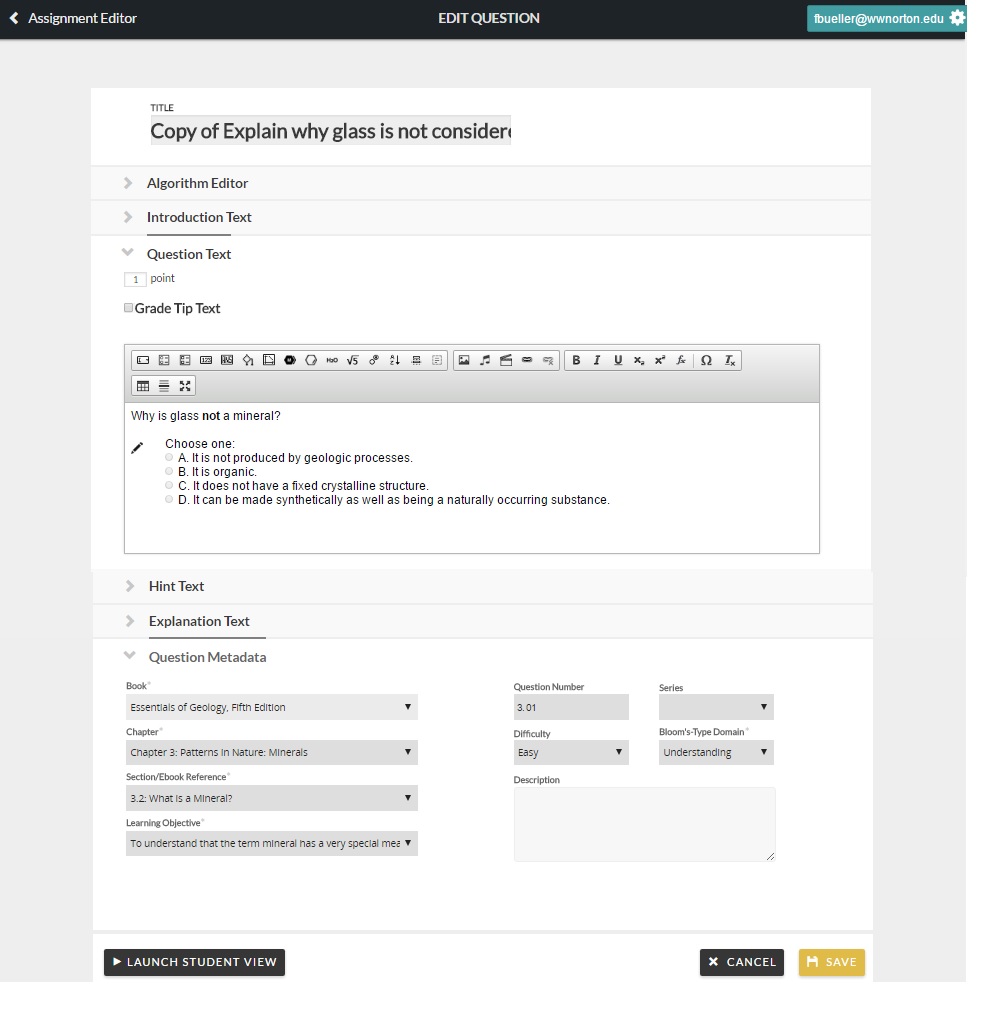
The Question Editor contains various expandable sections that you can use to edit a question. These sections are:
- The Algorithm Editor, which you can use to create algorithmic variables to use in your question.
- The Introduction section, which you can use to introduce your question with text or multimedia. If your question contains multiple parts, the Introduction section is also a useful way to disseminate information that students will use to solve the question.
- The Question Text section, which you can use to edit the question stem and the question modules. The question module contains the answer options, and feedback that students see when attempting the question.
- The Hint Text section, which you can use to edit the hint students see when answering your question.
- The Explanation Text section, in which you can write the solution, or explanation of how to arrive at the answer, which students will see if they exhaust their attempts on the question, or give up. If the question contains multiple parts, you can choose to also write a Summary Solution, where you can summarize all of the solution sections.
- The Metadata section, which allows you to tag your edited question to a new chapter, section, and assign it to a new learning objective. You can also edit the question number, the difficulty level, and the Bloom’s Taxonomy of the question.
To enter any module, double click within the main “box” area of the module. This will open up a pop-up window where you can edit the question itself, the answer options, and the correct and incorrect feedback.
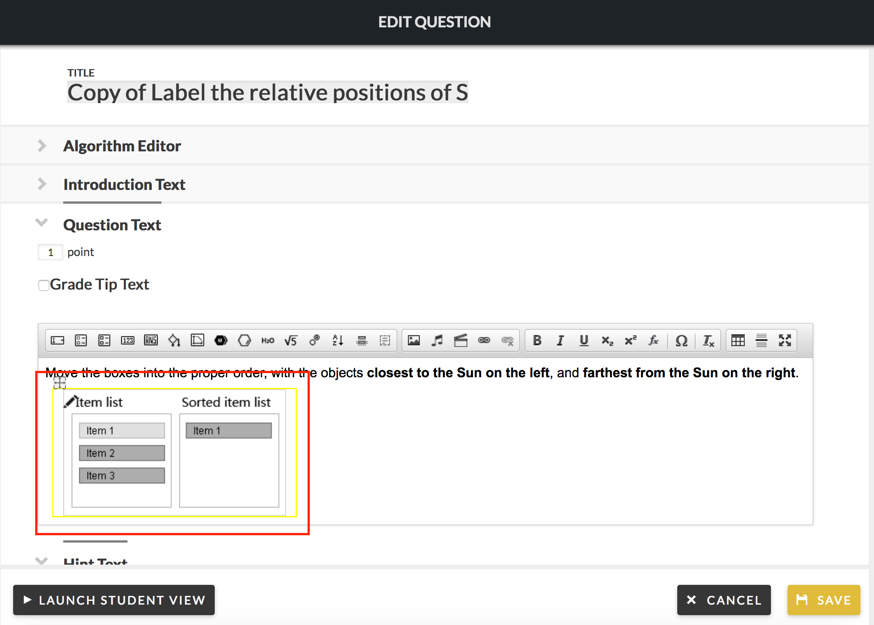
By default, the title of your edited question will be “Copy of [title of question you're editing]." You can change this by clicking on the editable text field and typing in a new title.
To save your edits, click the "Save" button in the lower-right corner of the Question Editor. To preview your question in Student View, click on the "Launch Student View" button. If you do not want to edit this question, click the "Cancel" button.
Important Note: When editing questions, you cannot add additional parts or modules to the question. You can, however, delete parts.
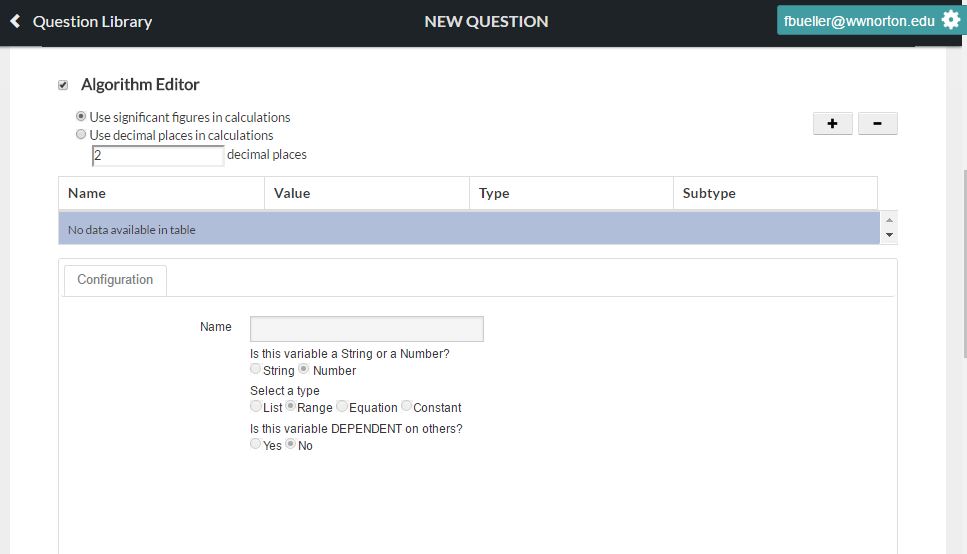
Algorithm Editor
The Algorithm Editor, or the Algorithmic Variable tool, allows you to create, edit, and insert algorithmic variables (“algos”) into your edited question in order to create dynamically-generated content. In Smartwork, an algorithmic variable is a set of values where one value from the variable is randomly selected for each view of the problem. Because algos give each student a slightly different problem based on the values loaded for their view, this tool is often used to minimize student cheating.
For an in-depth look at how to use this editor, as well as for a comparison of the various types of Algorithmic Variables and how to use them in questions, please refer to the Algorithmic Variable help notes.
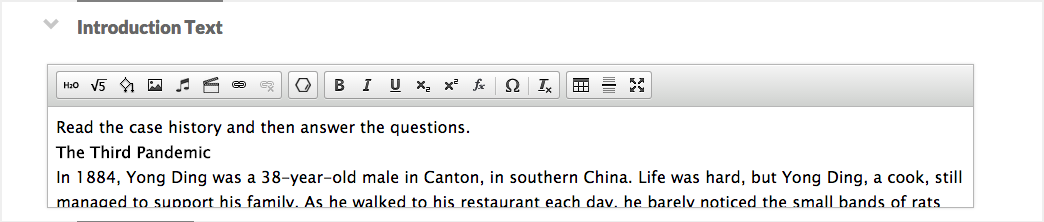
Introduction Text Section
The Introduction section is located just underneath the Algorithm Editor. The Introduction section is also a useful way to disseminate information that students will use when solving the question. You may want to write an introduction if your question contains multiple parts, or if your question is based on multimedia that students must evaluate, such as a video or a graph.
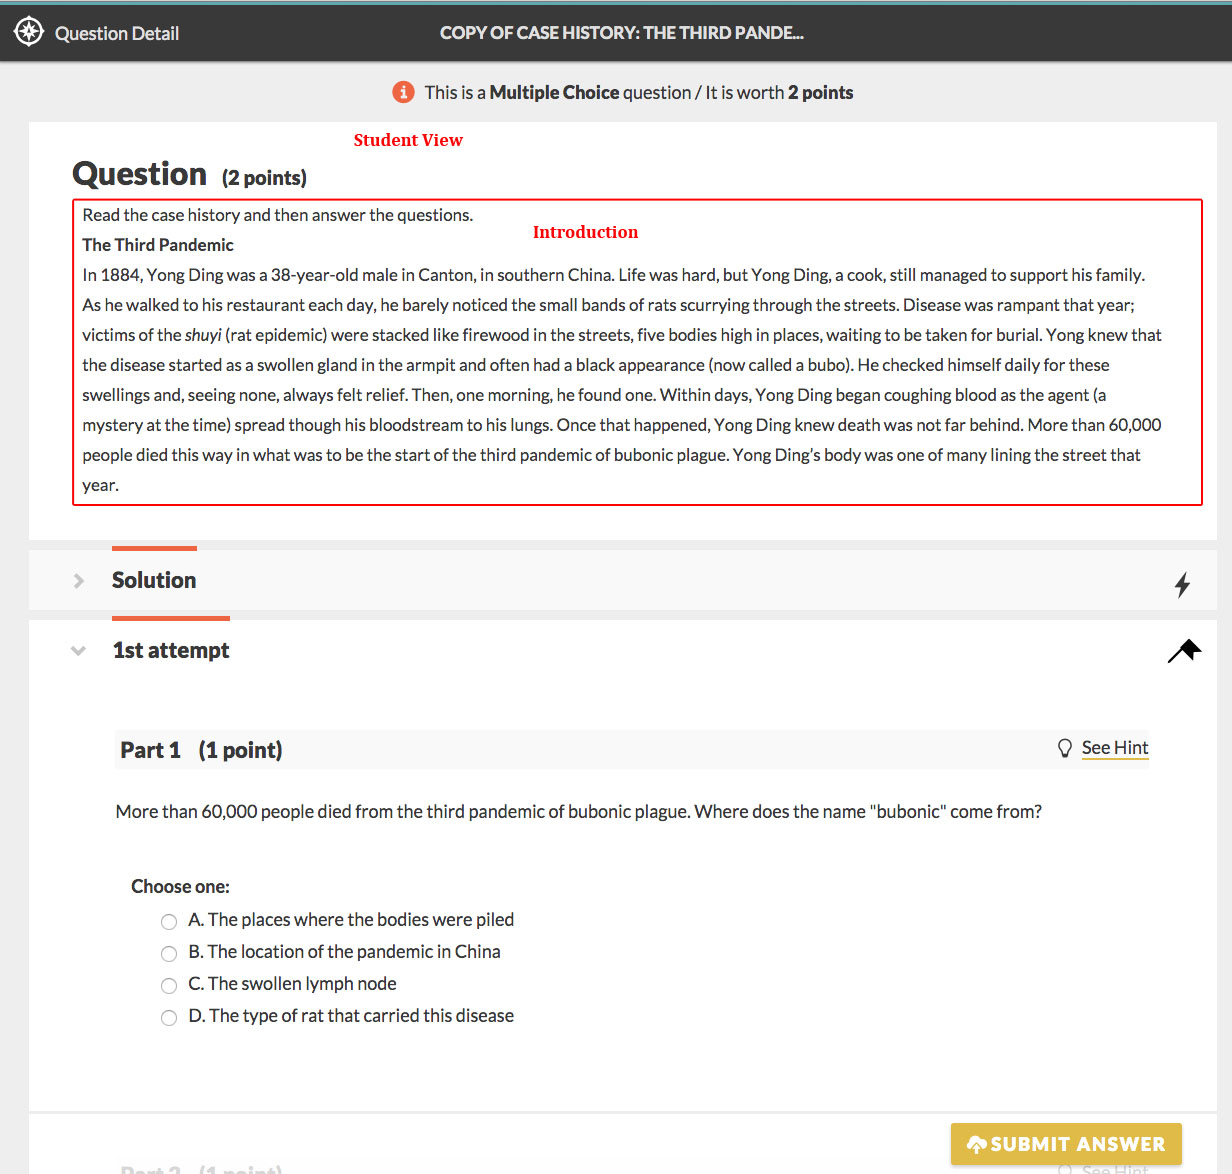
In the student player, students will see the Introduction just above the question.
Text Editor
The Introduction section contains a Text Editor, which you can use to format your introduction and insert multimedia.
The Media Palette allows you to insert multimedia as into your introduction.

From left to right, the Media Palette allows you to do the following:
- Insert static chemical equations
- Insert static symbolic (math) equations
- Insert algorithmic variables
- Insert image files
- Insert music files
- Insert video files
- Insert hyperlinks
- Remove the hyperlinks
The Chem Pad Button allows you to insert a static molecular drawing into your introduction.
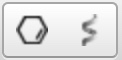
- Insert 2D molecule
- Insert 3D molecule
The Text Formatting Palette allows you to format text, as well as add special characters.

From left to right, the Text Formatting Palette allows you to do the following:
- Bold text
- Italicize text
- Underline text
- Insert subscripts
- Insert superscripts
- Insert math formulas (This button is being phased out. Please use the static symbolic equation button to insert math equations.)
- Insert special characters
- Remove any formatting applied to the text
From left to right, the Feedback Formatting Palette allows you to do the following:

- Insert tables
- Insert line breaks
- Edit text in full screen mode
Grading Criteria
The Grade Tip Text section is located underneath the Introduction section. You can add notations about grading criteria that will be displayed to the student. Students may need information about grading criteria (whether certain notations or elements are required).
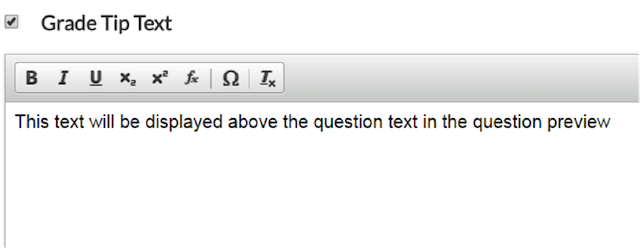
Similar to the Introduction section, the Grade Tip section expands when you click on the check box next to the text "Grade Tip Text." Un-checking the box does not delete the tip, instead, it just collapses the sections.
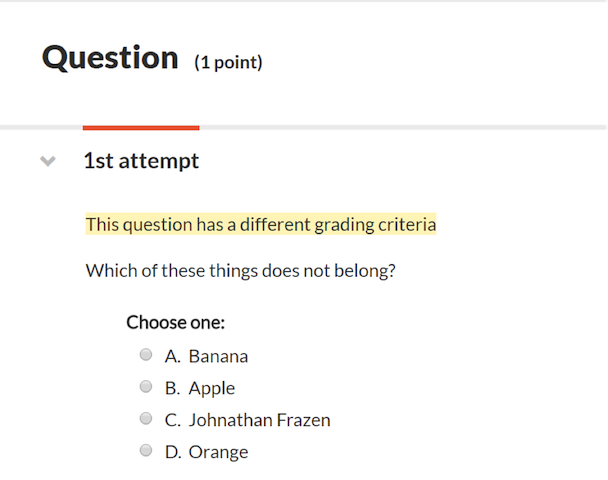
In student view, the Grade Tip appears above the question. When editing an assignment, you have the ability to turn grade tips on or off for each question.
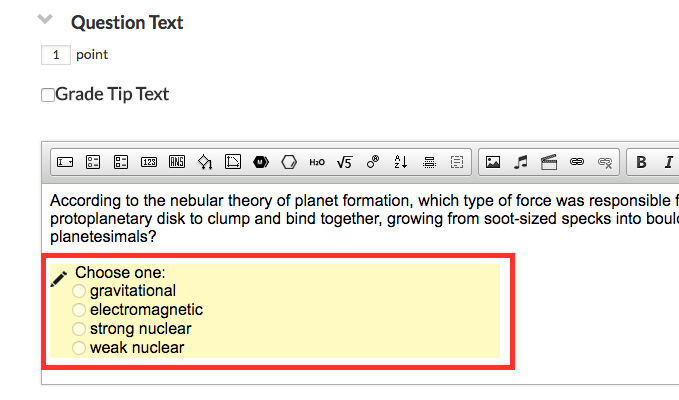
Question Text Section
The Question Text section is located underneath the Introduction section. When composing a question, the Question Text section is where you can edit the question stem, as well as the interactive module your students will use to solve the question.
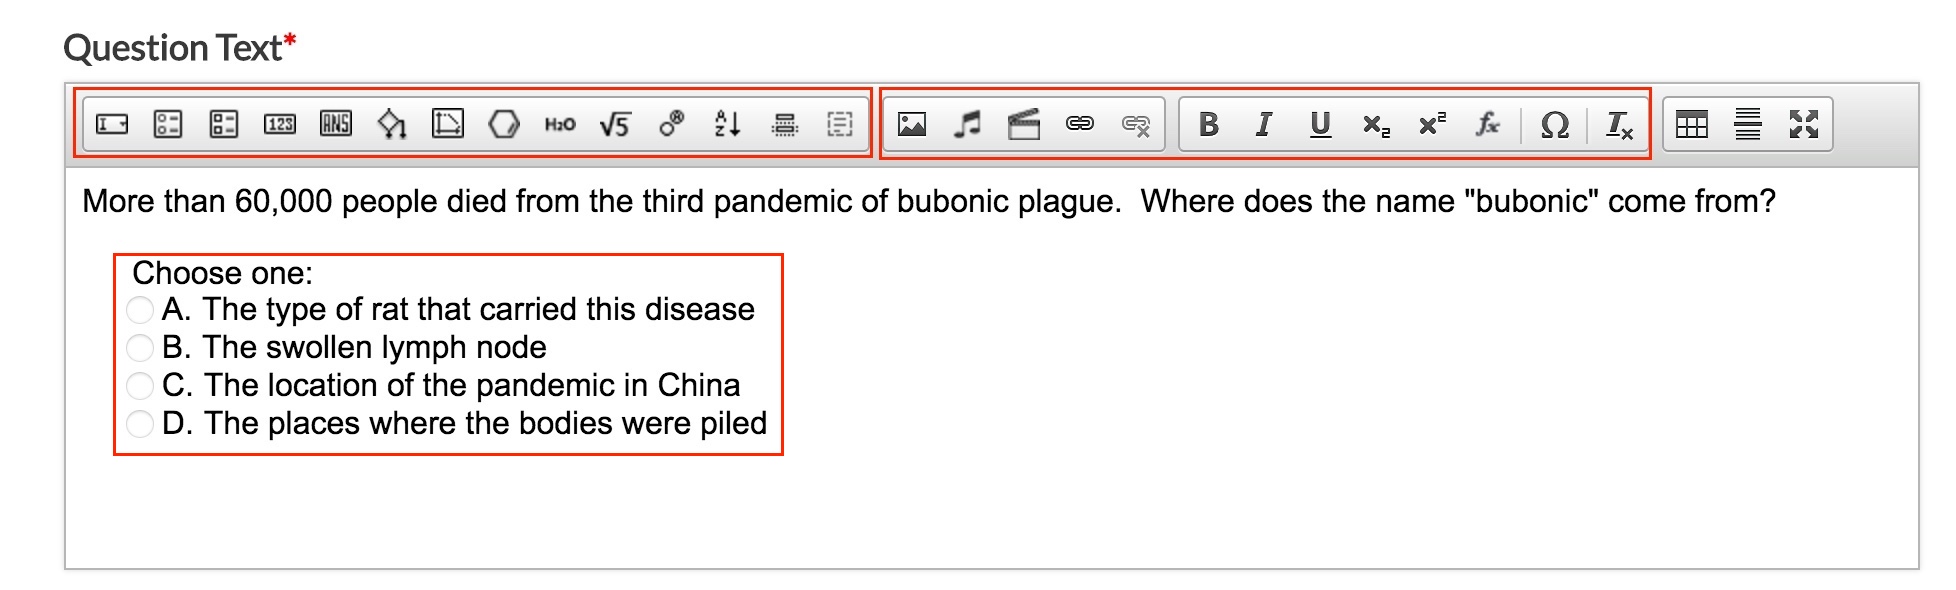
The Question Text section contains an editable text field, and a Text Editor that has a modified Media Palette, minus the Static Chemical Equation button, the Symbolic Equation button, and the Algorithmic Variable button. Instead, these buttons appear in the Module Palette, which we will talk about below.
Modules
The Module Palette allows you to insert various gradable modules into the question. Students will use these modules to answer the question posed in the question stem.

From left to right, the Module Palette allows you to insert the following modules into the Question Text section:
- Dropdown Module
- Multiple Choice Module
- Multiple Select Module
- Numeric Entry Module
- Short Answer Module
- Algorithmic Variable
- Graphing Module
- Molecular Drawing Module (both gradable and static)
- Chemical Equation Module (both gradable and static)
- Symbolic Equation Module (both gradable and static)
- Labeling Module
- Ranking Module
- Sorting Module
Parts
If the question you are editing has multiple parts, you have the option to delete one or more of those parts. You cannot add a part to a question.
Note: the system currently allows you to delete all parts of a question. Because there is no way to add a part back to a question, be careful not to delete all parts of a question. Furthermore, if you delete a part of a question, be sure to also delete the corresponding hint and explanation. We will discuss this more in the Hint Text section and Explanation Text section.
You can adjust the "weight" of each part by editing the points section.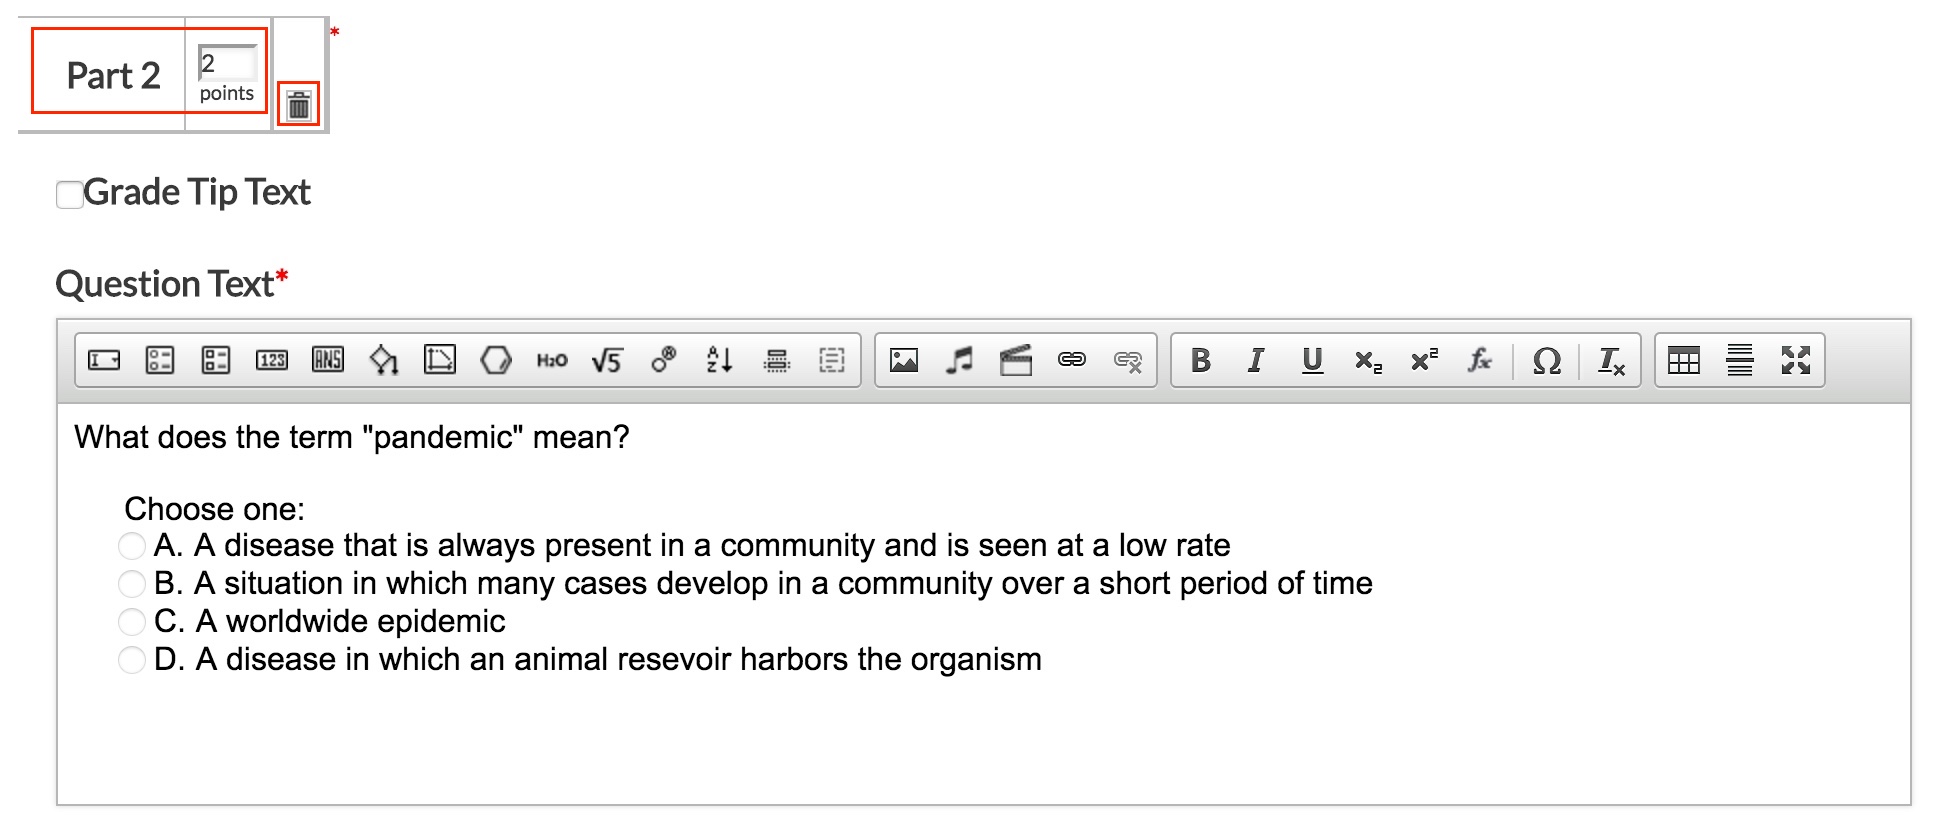
Hint Text Section
The Hint Text section is located directly underneath the Question Text section. You can use the Hint Text section to write hints for students who are stuck on a problem.
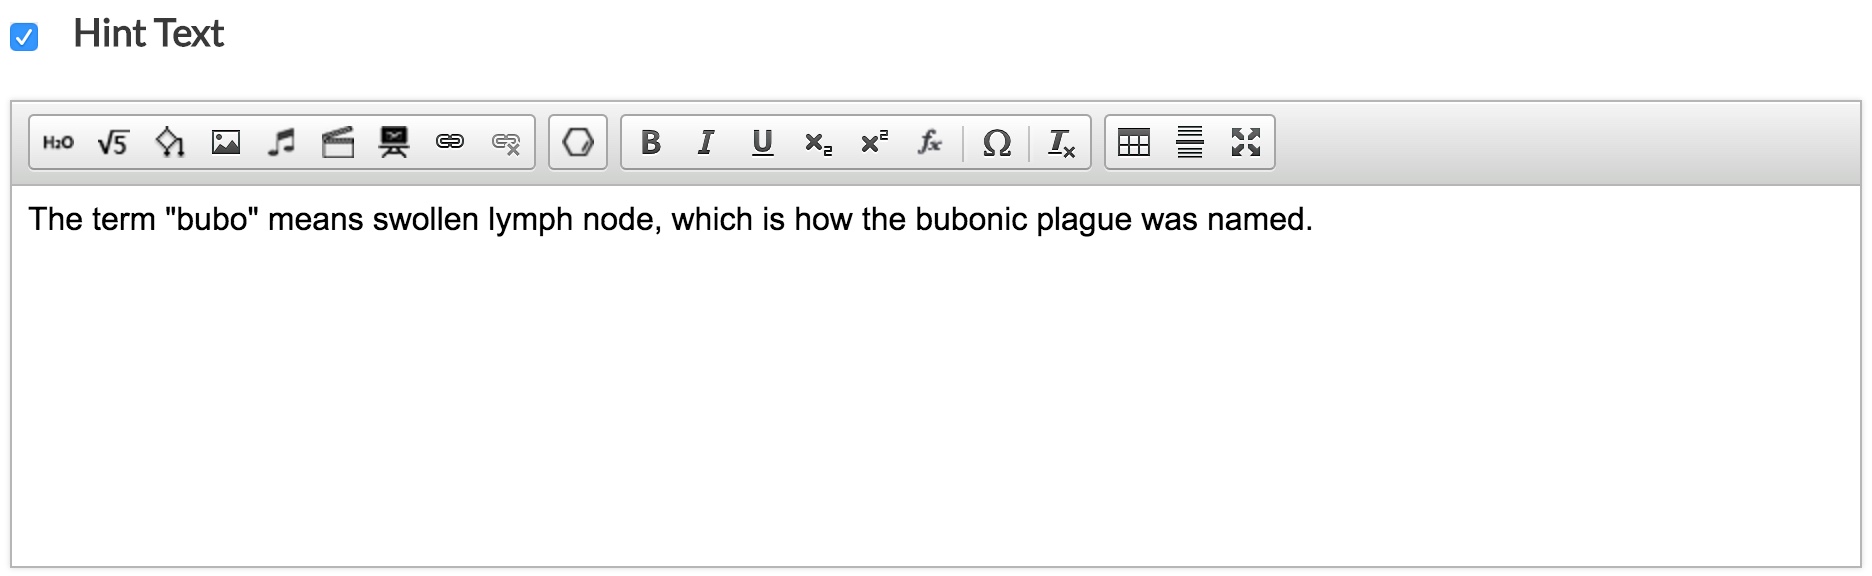
If there are multiple parts to your question, you will be able to edit the corresponding hint to each part in this section. If you delete one part of a question, you must delete the corresponding hint to that part.
The Text Editor in the Hint Text section has all of the same buttons as the Text Editor in the Introduction section. It also includes a button that allows you to create a static graph, which is located next to the Static Molecular Drawing button.
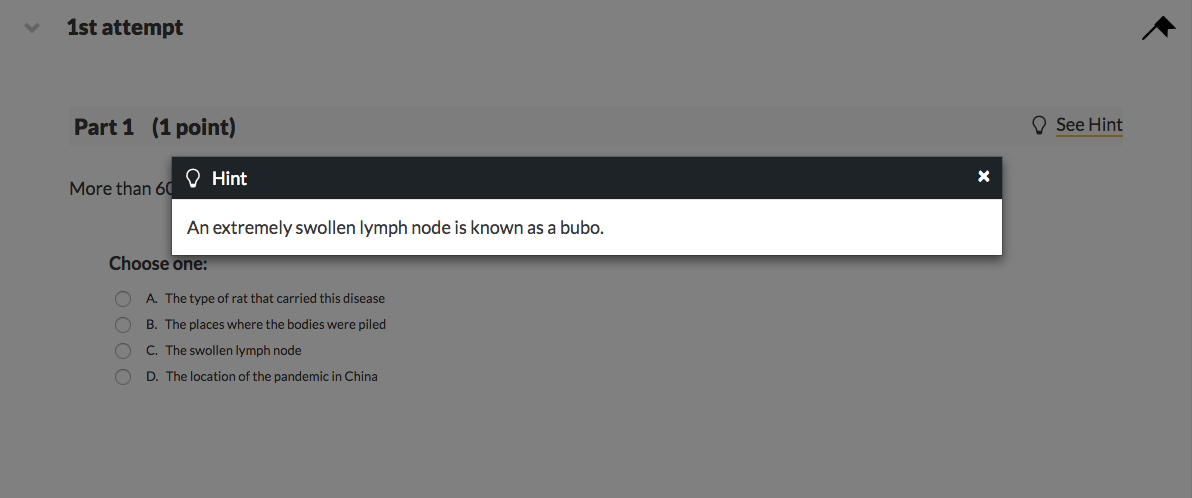
In student view, the hint appears as a clickable link next to its corresponding question part. Once students click on this link, the hint will appear in a modal window. The text that appears in this window only corresponds to the question part. In other words, if you click on the "See Hint" link in Part 1, you will only see the Hint text for Part 1. When editing the assignment settings, you have the ability to turn hints on or off for this question.
Explanation Text Section
The Explanation section, also known as the Solution section, is located directly underneath the Hint Text section. This is the section you use to write the Solution, which is an in-depth explanation as to how to solve the problem.
The Text Editor in the Explanation section has all of the same buttons as the Text Editor in the Introduction section. However, it also includes a button that allows you to create a static graph, which is located next to the Static Molecular Drawing button.
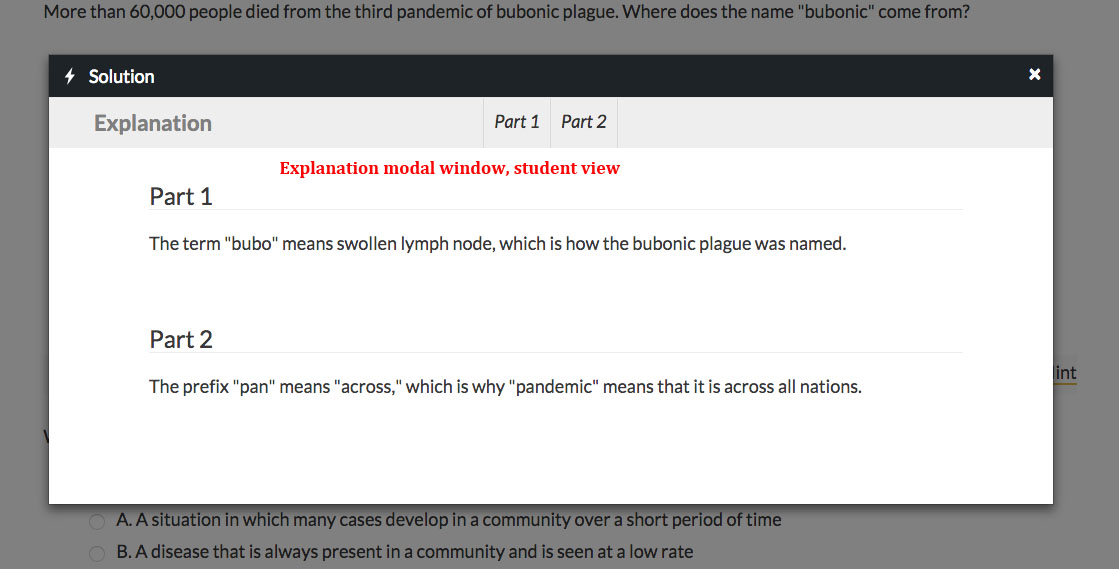
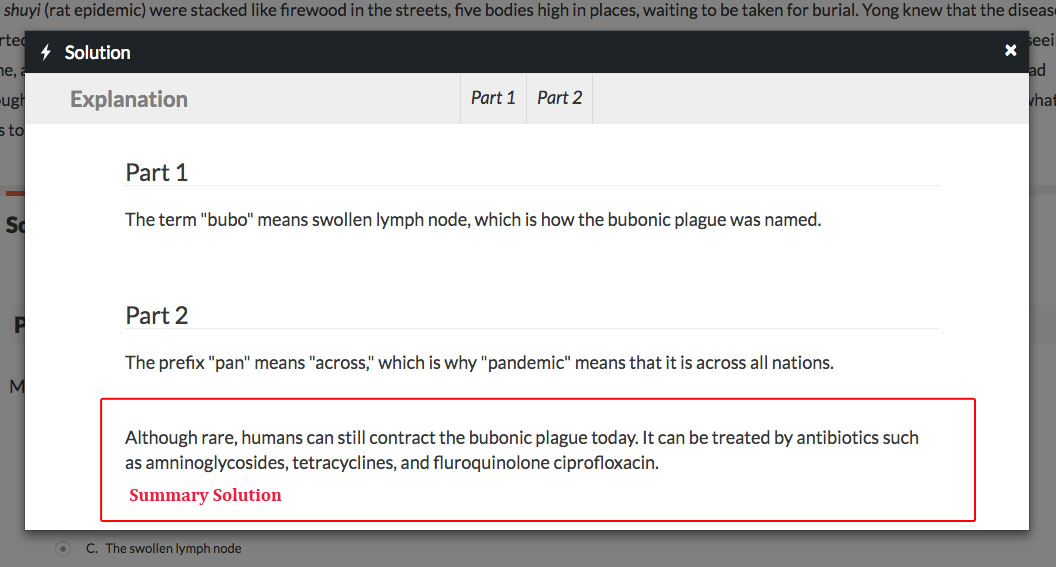
In student view, the Explanation will appear in a pop-up window when you click on the “Explanation” link in the Solution tab. Depending on the assignment’s settings, students may be directed to the tab when they give up, or when they exhaust their allowed attempts on the problem.
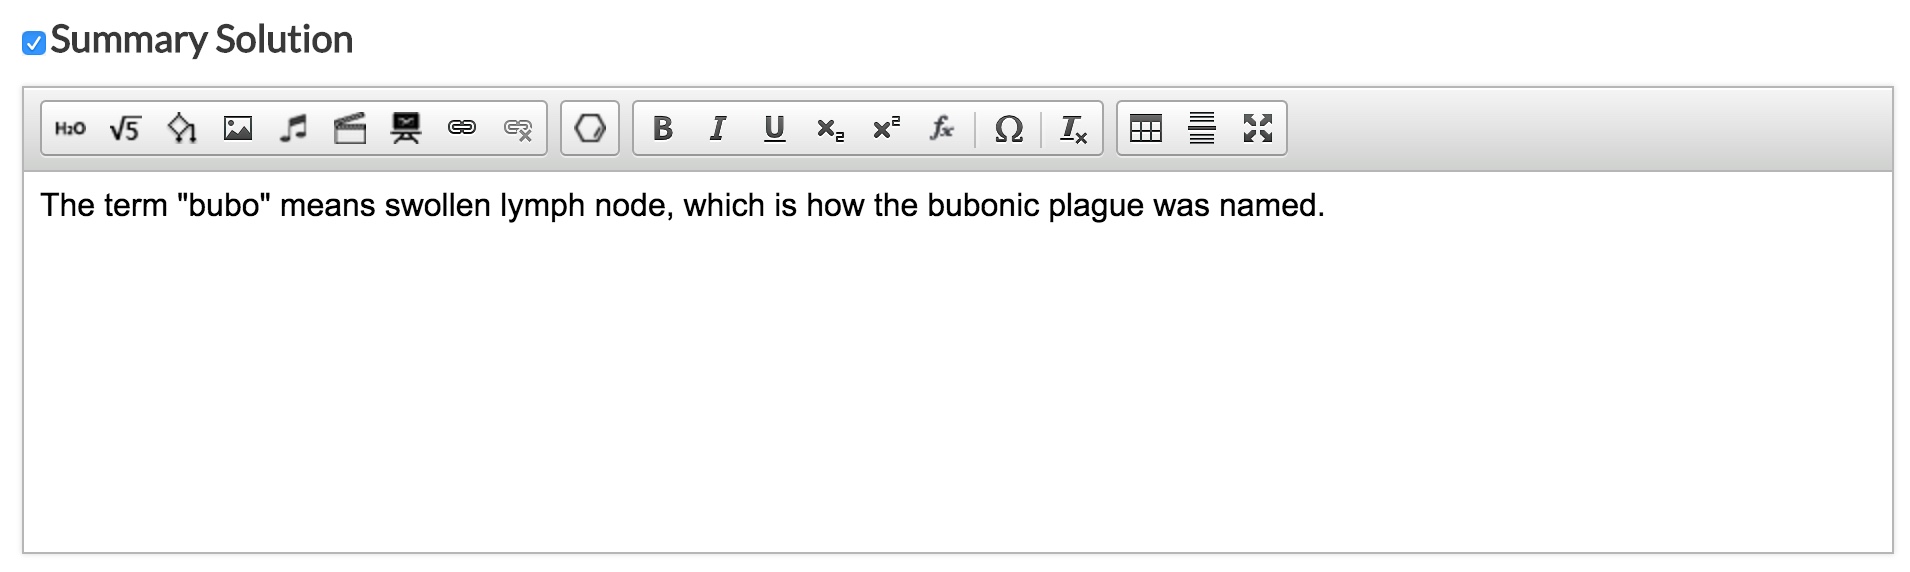
Summary Section
If a question contains multiple parts, the Summary Solution section can be used to give a short paragraph that ties all of the question’s parts together. The field for the Summary section appears within the Explanation Section.
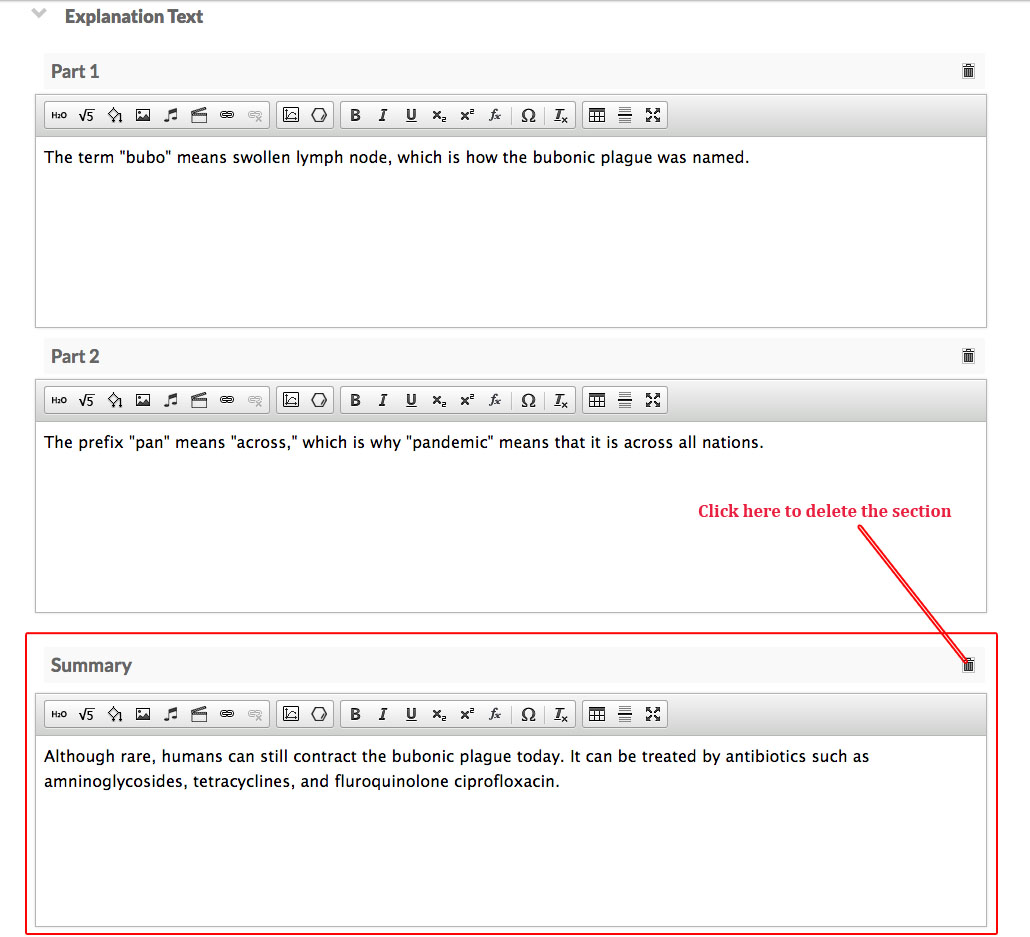
If you are not using the Summary Section, you can either leave it blank or delete it by clicking on the trash can in the top right corner of the Summary field.
In Student View, the Summary Solution will appear in the “Solution” pop-up window that appears when students click on the “Explanation” link. The Summary Solution will be underneath the Explanations for each Part.
Question Metadata Section
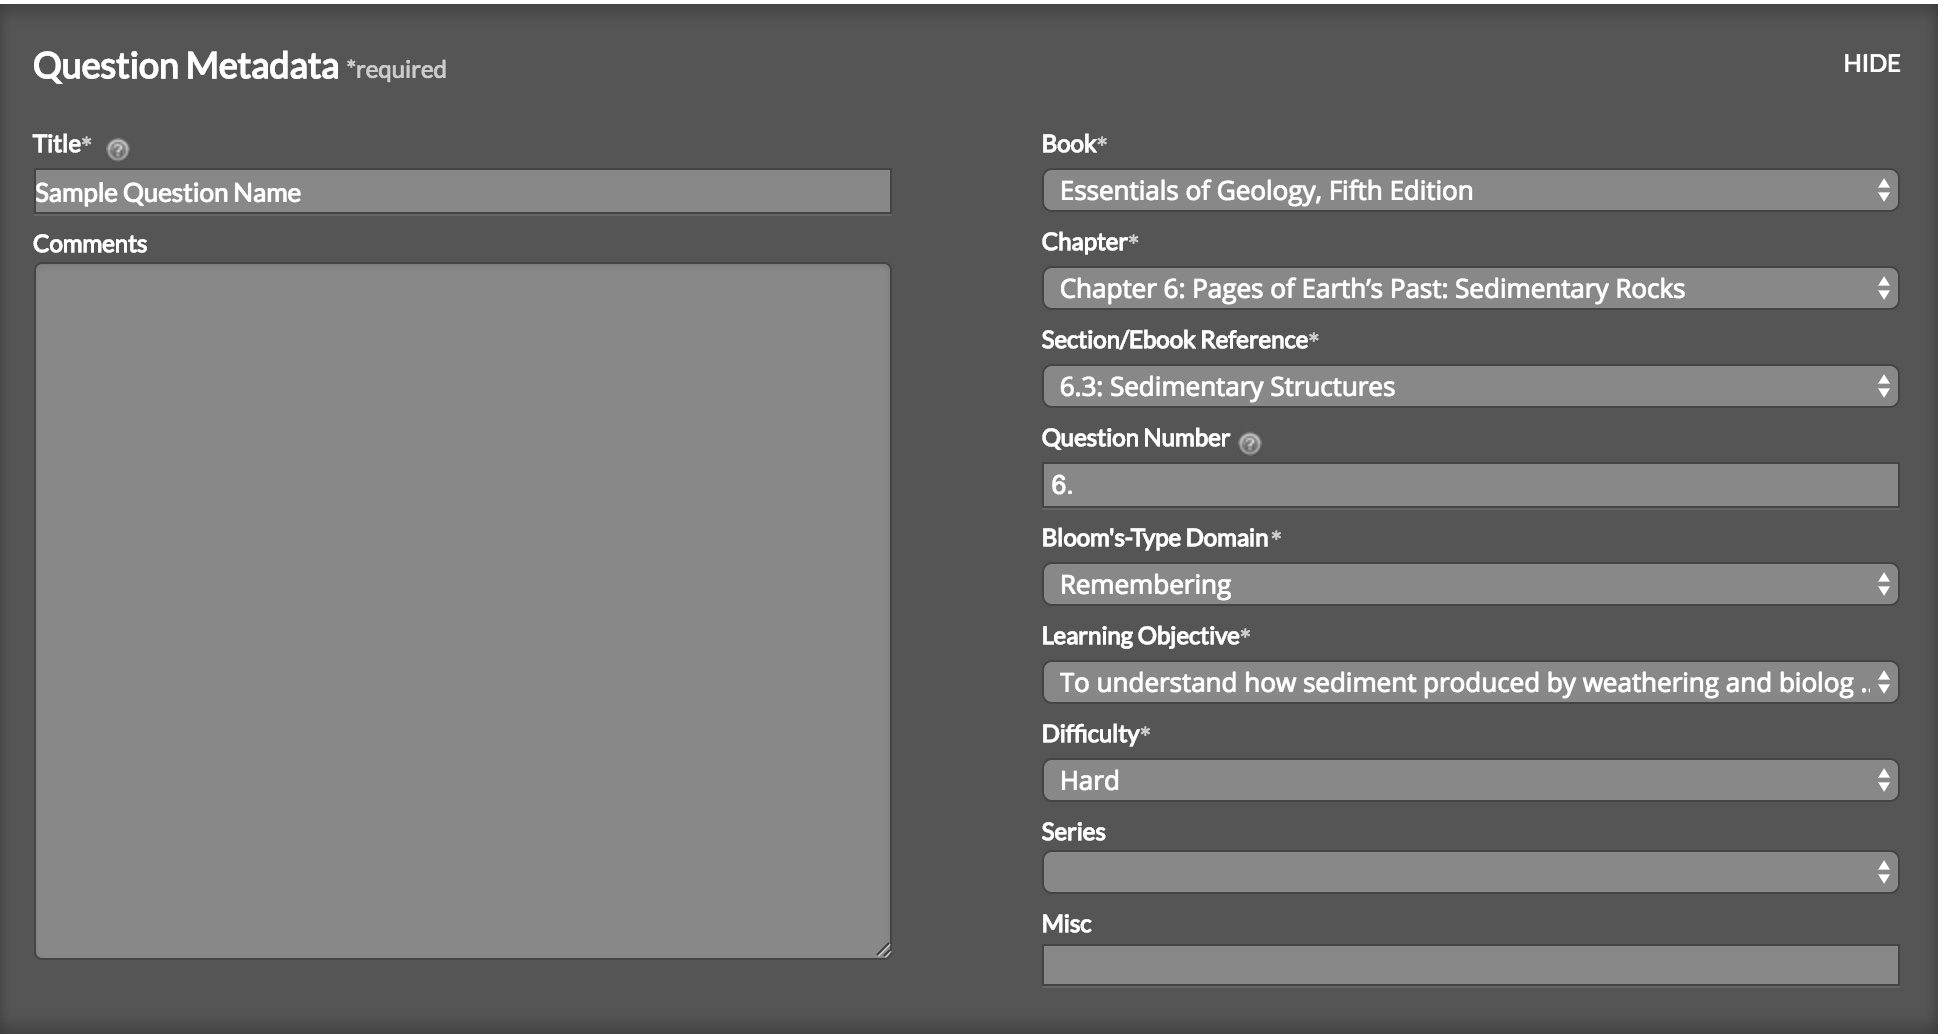
The Question Metadata allows you to assign the following attributes to your question:
- Chapter– this allows you to select the book chapter associated with the question you are creating from the dropdown menu. This is a required field.
- Section/Ebook Reference– this allows you to select the chapter section associated with your question from the dropdown menu. The system will use this data to link your question to the appropriate section in the ebook, so that students can reread the text if they have trouble answering the question. This is a required field.
- Question Number– this allows you to type in a question number. This is not a required field; however, assigning a number to your question may help you identify it when sorting in the Question Library.
- Bloom’s Type Domain– this allows you to tag your question with the appropriate Bloom’s Taxonomy via a dropdown menu. This is a required field.
- Learning Objective– this allows you to select the appropriate learning objective from the dropdown menu. This is a required field.
- Difficulty– this allows you to select the appropriate difficulty level from the dropdown menu. This is not a required field.
- Series– this allows you to select the appropriate series tag for your question, if applicable. Series may encompass different question types, such as art-based questions, or questions based on case histories. Series may also include sets of book-specific questions, such as End of Chapter questions, or questions associated with a particular reading in the book. Not all questions have series tags: this is not a required field.
- Description– this section allows you to write any internal comments about the question. Students will not be able to see any notes you leave here. This is not a required field.
The section for Book will be pre-filled by the book you are currently using.
Once you fill out the metadata for your question, you can collapse the metadata section by clicking “Hide,” located in the upper-right corner of the metadata box.
Editing Multiple Choice Questions
Here are the basic elements that make up a Multiple Choice question, each of which you can choose to edit:
- Question text and answer options– For a Multiple Choice question, only one answer option can be correct. (If multiple options are correct, that would be a Multiple Select question.)
- Hint– A catalyst that helps a student approach the problem in a different way.
- Conditional feedback– This is answer-specific feedback that students will see when they select a common incorrect answer choice.
- Correct feedback– This is the feedback that is triggered when the student submits the correct answer; it's usually a question or statement encouraging the student to think about the answer in a broader context.
- Default feedback– This is the feedback students receive when they give up on the question, or they select an incorrect option not covered by Conditional feedback.
- Explanation/Solution– An overview of how the problem was solved, this is typically more in-depth than the Correct feedback. Students will see the Correct feedback automatically but will have to click on the Explanation to see it once they have solved the question (or given up).
Steps for Editing a Multiple Choice Question
- Once in Edit Mode, as detailed above, click the Edit icon (it looks like a pencil) next to a question from either the Question Library or from the Assignment Editor.

- To edit the question, answer options, or feedback, click the arrow next to “Question Text.”
![]()
- To enter Edit Mode for the feedback or answer options, double-click anywhere within the Multiple Choice module.
This will open a pop-up window you can edit in:
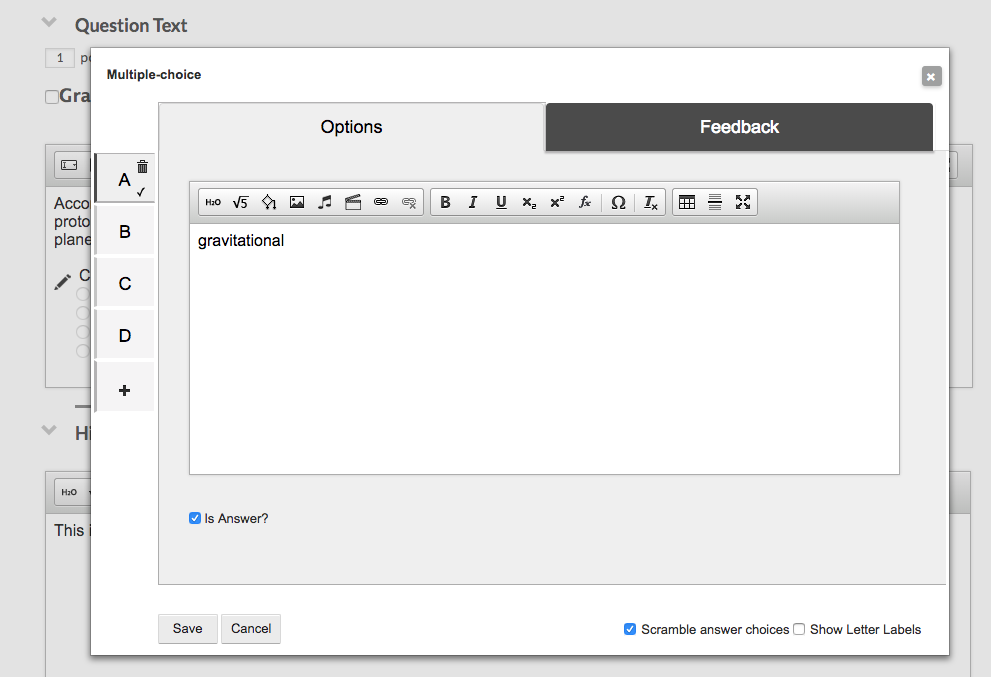
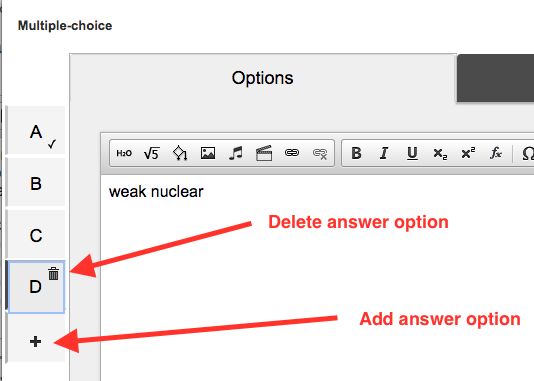
- To edit one of the answer options, find its corresponding letter on the left side of the box, and click into that tab. Type in new feedback or edit existing feedback text as desired.
- You can delete an answer option by clicking the “trash” icon on its tab.
- You can also add an answer option by clicking the "+" underneath the last option tab.
- To edit the default, incorrect, and correct feedback, click the Feedback tab at the top of the edit window. Click through the numbered tabs on the left to find the specific feedback you want to edit, to see which feedback is tagged to which answer option, look for “Apply feedback to:” at the bottom of the window. Note: the correct answer will have the “Is Answer?” box checked.

Incorrect feedback text should help the student understand why their answer is incorrect, and give them just enough information that they can try again.
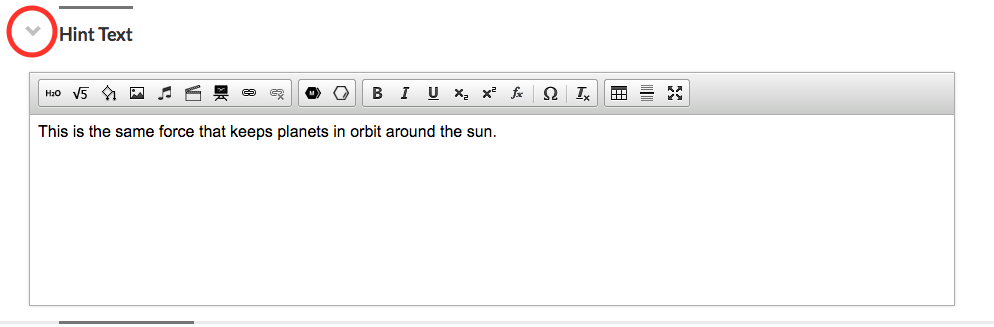
- To edit the Hint, click the arrow next to “Hint” and simply type and edit within the text box.
- To edit the Solution/Explanation text, click the arrow next to “Explanation Text” and type and edit within the text box.
![]()
(Note: if there are multiple Parts in your question, there may also be a section titled Summary. This is an explanation that applies to all Parts of the question, and will be triggered once students have answered all Parts correctly. If there is only one Part, this Summary section is not needed.)
- When you’re done editing, click Save at the bottom of the page.
- You can now preview the question to view what a student would see, by clicking Launch Student View at the bottom left. Check that any edits you made are functioning correctly by working through the question.
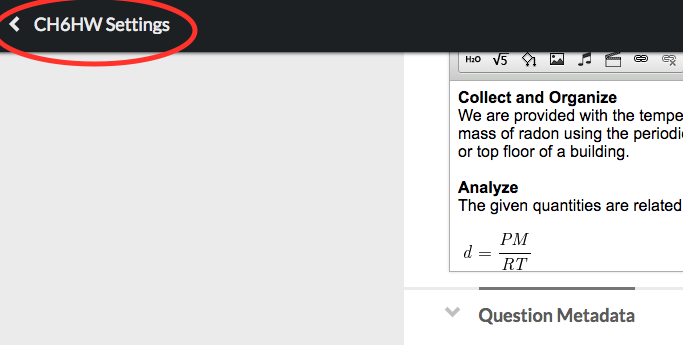
- Click “[Assignment Title] Settings” at the top left of the page to return to the previous assignment page.
You can proceed to edit more questions, or exit the assignment to go back to your Student Set page. Your custom question will now be present in your Question Library, visible to you only. You can also choose to delete your own custom questions, unlike Norton-created questions.
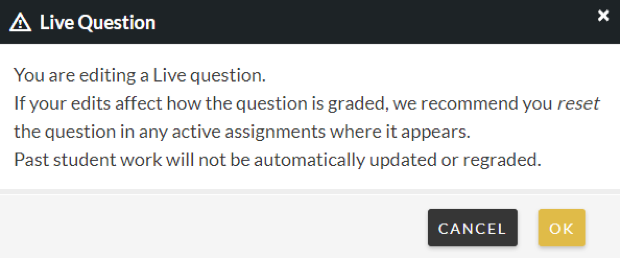
Note: Don’t edit a custom question if it has been published and used in an active assignment. However, you can still edit your custom question in any non-activated assignments where the question is not yet Live. If you begin to edit one of these custom questions, you’ll see the following message, which contains pointers to help you decide how to handle a few potential scenarios:
Adding Your Edited Question to Assignments
Editing a Question from the Assignment Editor
If you are editing a question that already exists in your assignment, the edited question will replace question that was originally in the assignment. The edited question will also appear in your Question Library for use in future assignments. A copy of the un-edited question will also remain in your Question Library for future use.
Editing a Question from the Question Library
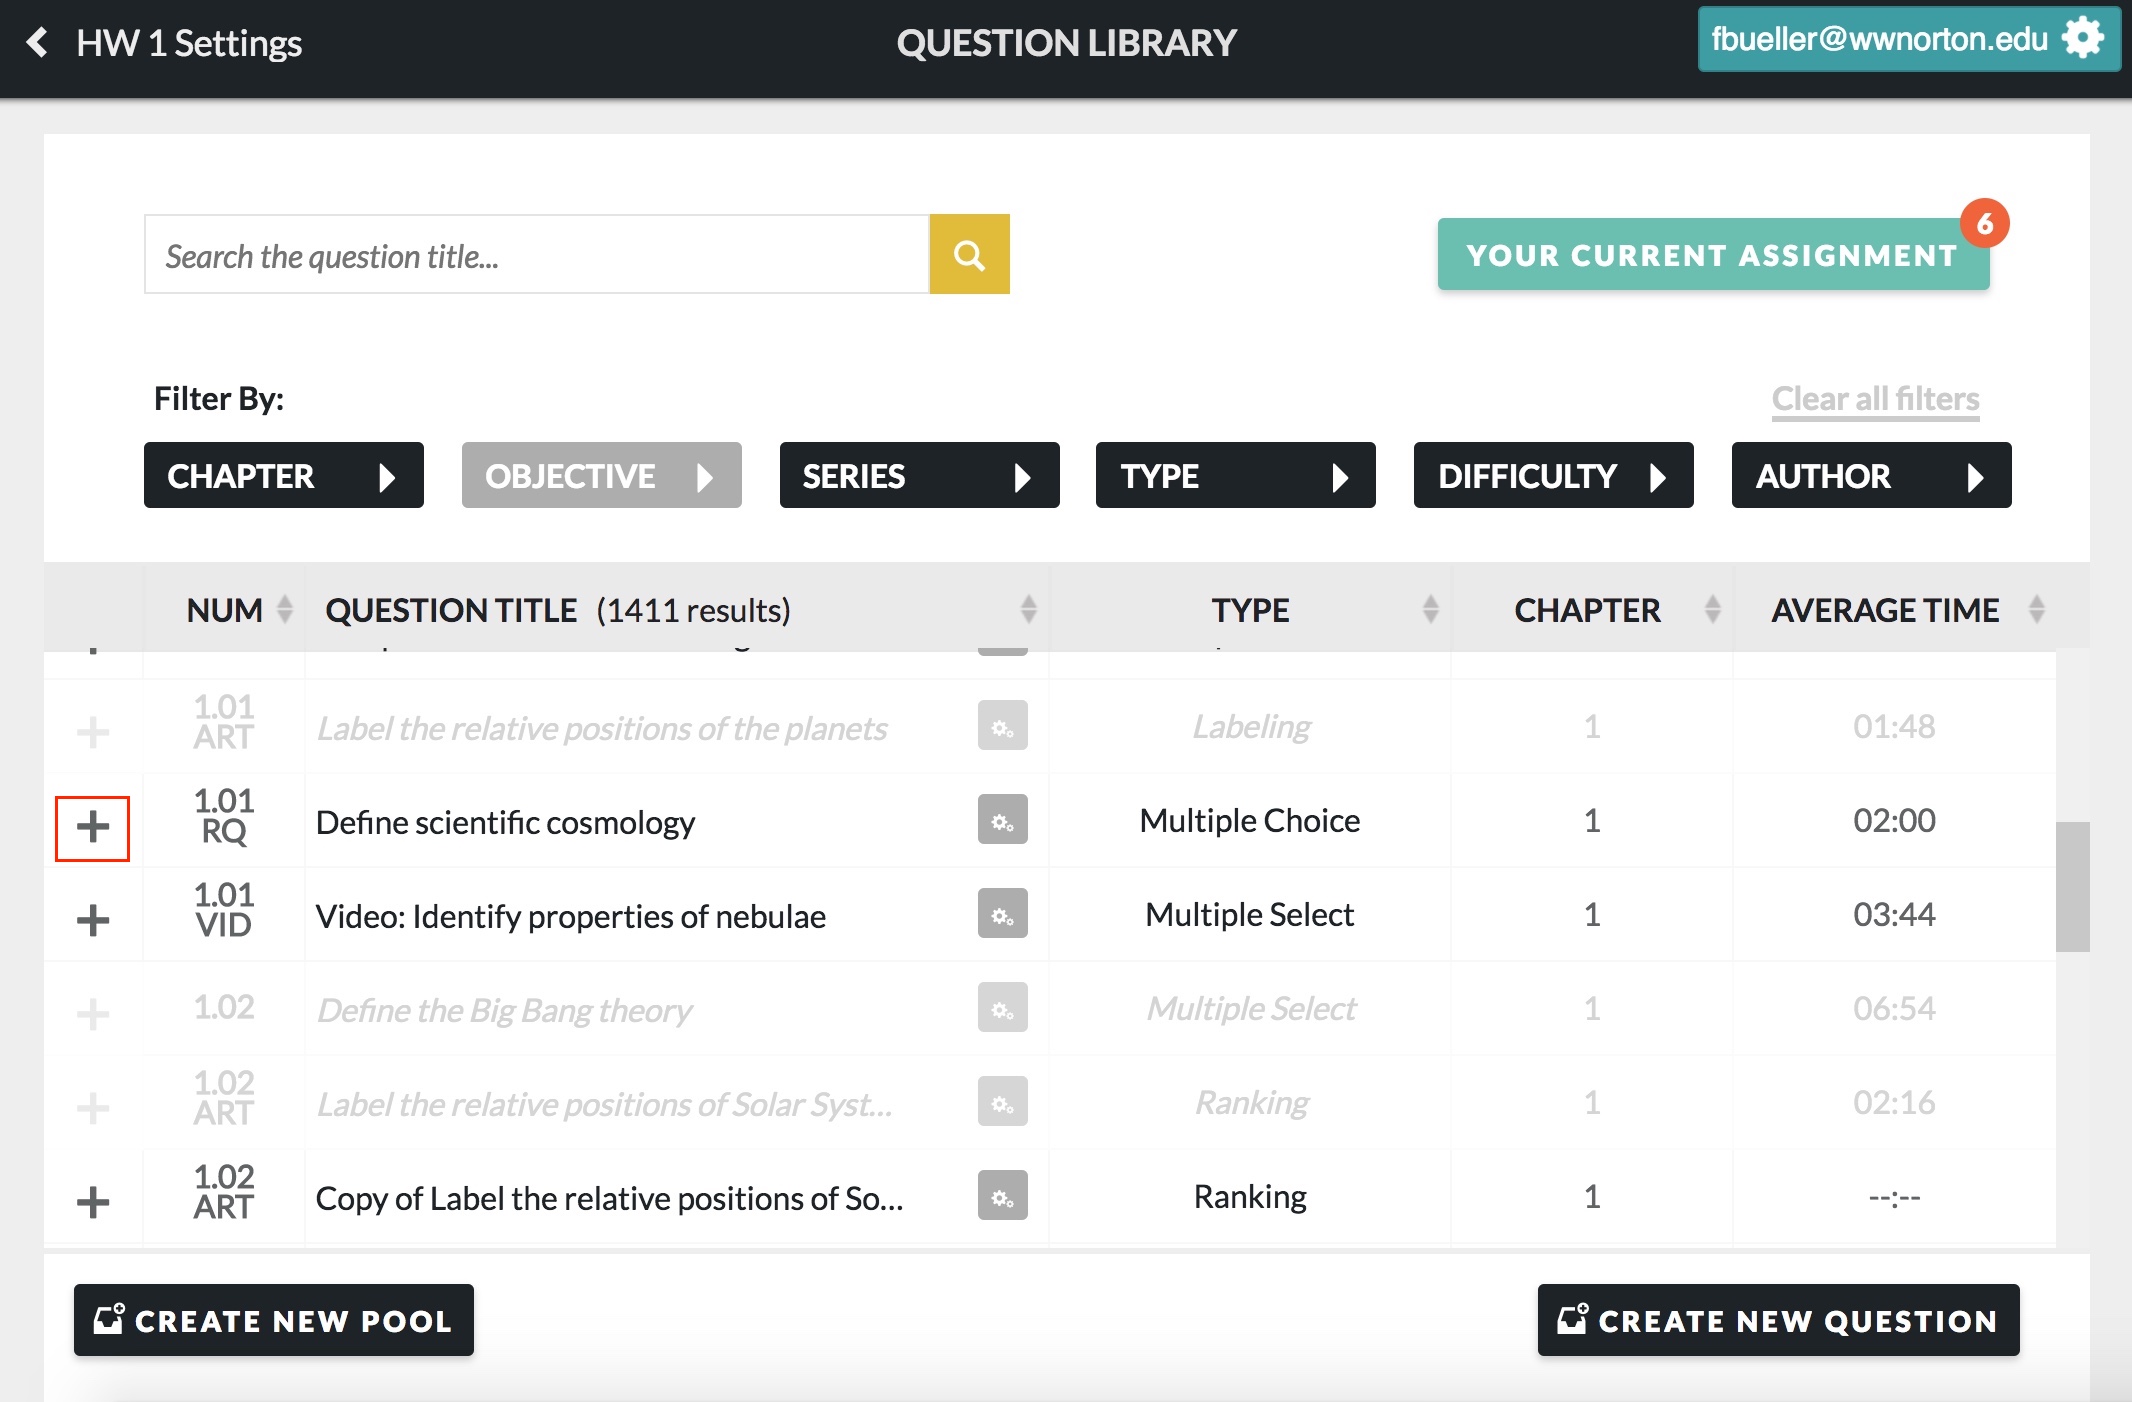
If you edit the question from the Question Library, you can add it to your assignment by clicking the "+" next to the question title.
Deleting Questions You Edited
You can delete the question you edited from an assignment just as you would a W. W. Norton question.
You can also permanently delete a question you edited from the Question Library. This action is irreversible. You cannot delete questions authored by W.W. Norton.
To permanently delete a question you edited from the Question Library, do the following:
- If the edited question you would like to delete appears in one or more of your assignments, delete it from all of your assignments.
- Enter the Question Library and find the edited question you would like to delete.
- Click on the gear next to the question you would like to delete. This will expand an options palette with the options to Edit, Copy, or Remove the question.
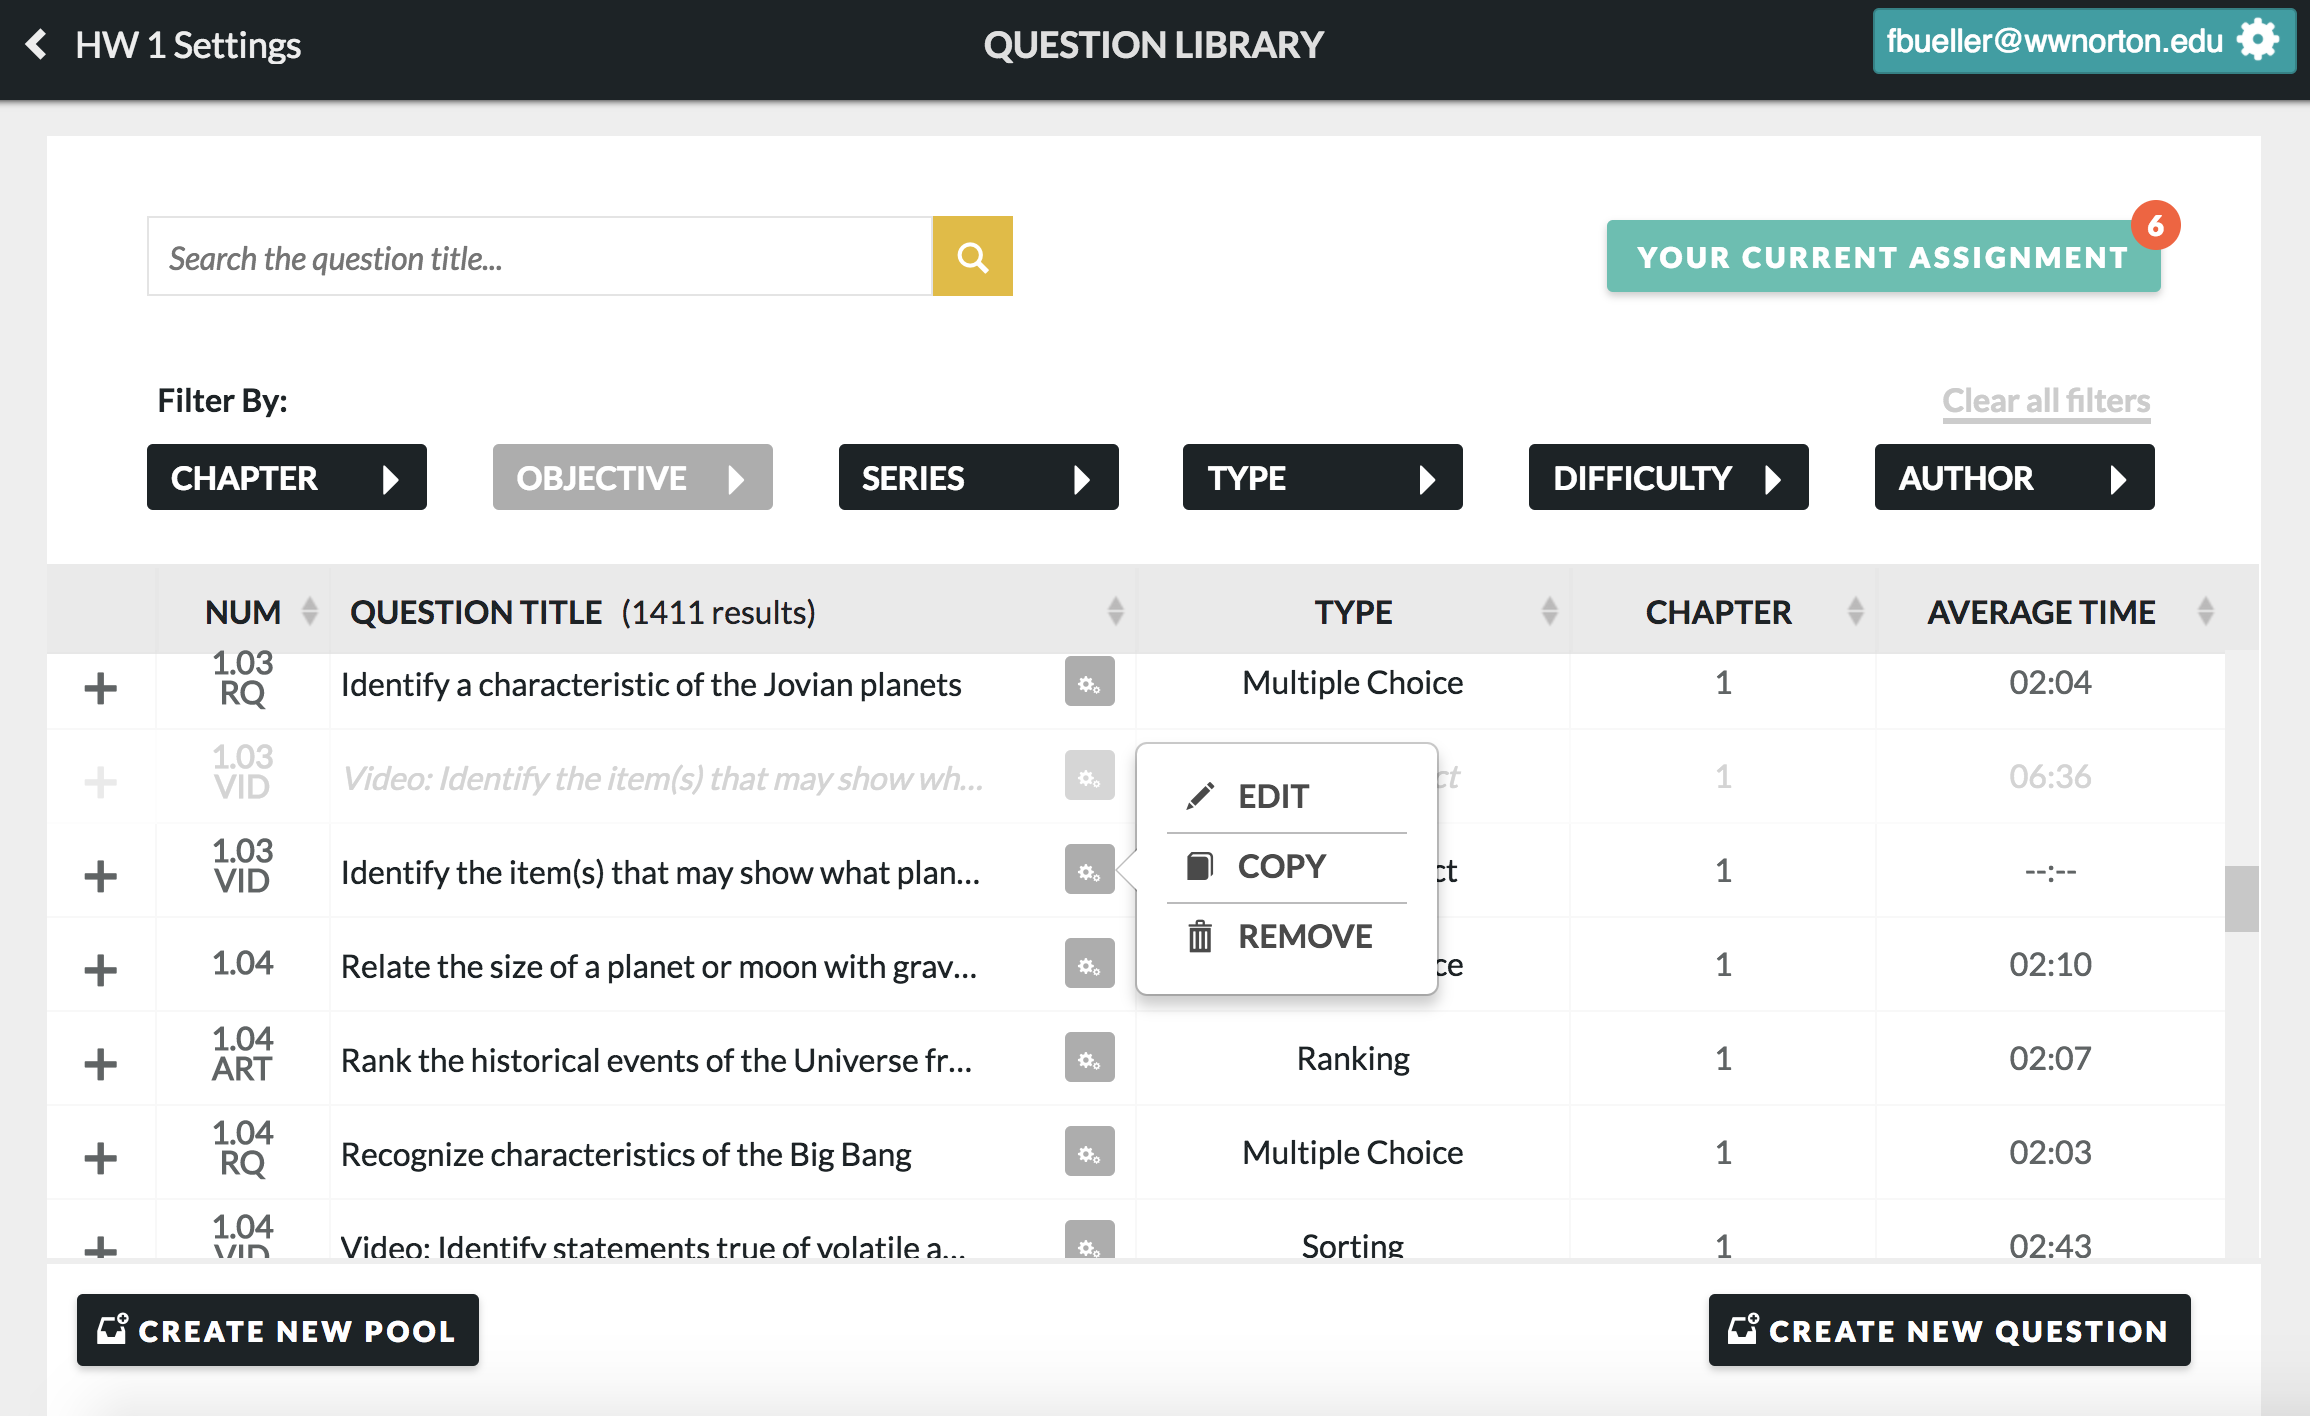
- Click "Remove" to delete the question.
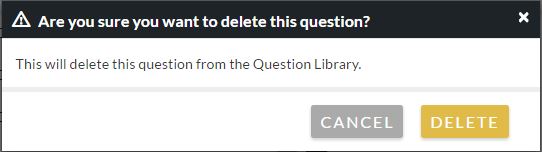
- A pop-up window will ask "Are you sure you want to delete this question?" Click "Delete" to permanently remove the question.

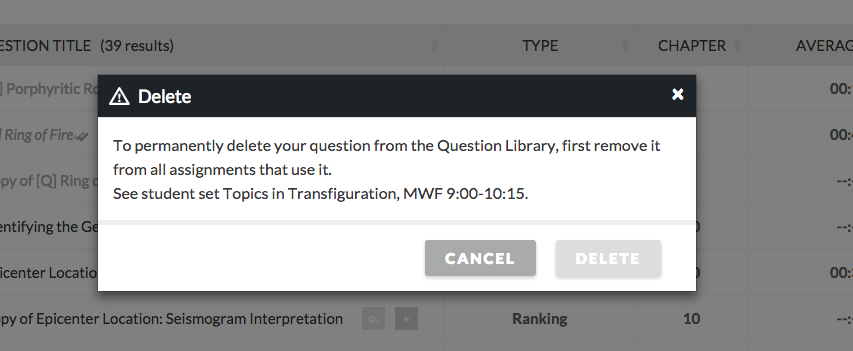
Note: If you do not delete the question from your assignments before you attempt to delete the question from the Question Library, you will receive an error message that prompts you to remove it from your assignments. In this message, the system will tell you the Student Sets where the question is in use.
Submit a Support Request
Still need help? Submit a support ticket and a customer support specialist will be happy to assist you.
Opened a request already? Click here for an update.